Why High-Heat Dough Is Different
A 900°F outdoor oven is a completely different animal from your kitchen oven, and dough written for one fails in the other. Most home-oven recipes add sugar and oil to help the crust brown during a long 500°F bake. Put that same dough in a blazing-hot outdoor pizza oven and the sugar carbonizes in seconds, and you get a black, bitter crust before the cheese even melts.
High-heat dough goes the other way: four ingredients, nothing that burns. Flour, water, salt, yeast. Flavor comes from time instead of additives: a long, slow overnight ferment builds the complex, slightly tangy taste that pizzeria crusts have and 2-hour doughs never will.
The other big difference is hydration. This recipe is 62% water by flour weight, and that number is doing real work. Wetter doughs (70%+) puff beautifully but stick to the peel and tear in beginner hands. Drier doughs (55%) launch easily but bake up dense and cracker-like in a 90-second cook. At 62%, the dough is tender, blisters well, and still slides off the peel cleanly. It's the hydration we'd hand to anyone making their first outdoor-oven pizza.
The Formula
Everything is weighed in grams, because cups are how pizza dough goes wrong. A cup of flour can vary by 30g depending on how you scoop, and this recipe uses just 1g of yeast; there is no measuring spoon for that. A cheap 0.1g-precision scale ends the guesswork for good.
- 500g 00 flour or bread flour: 100% (baker's percentage)
- 310g water, room temperature: 62%
- 10g fine sea salt: 2%
- 1g instant yeast: 0.2%, for the overnight room-temperature rise (use 3g if you need same-day dough)
This makes about 820g of dough: four balls of roughly 205g each, which stretch to 10–11 inch pizzas. That's the ideal size for 12-inch ovens and gives you a comfortable margin in a 14-incher. Cooking on a big 16–18 inch stone and want larger pies? Scale everything up: 610g flour, 378g water, 12g salt, 1.5g yeast gets you four 250g balls.
On flour: true Neapolitan pizza uses 00 flour: finely milled, around 12–13% protein, and crucially unmalted, so it stays blond longer at extreme heat. We reach for Caputo Pizzeria 00 when the oven is running 850°F+. But honest truth: ordinary bread flour makes excellent pizza in any outdoor oven, especially in the 700–800°F range where most people actually cook. Don't let a flour hunt delay your first batch.
💡 Why only 1 gram of yeast?
Yeast amount is a throttle, not an on/off switch. At 0.2% of flour weight, fermentation takes 16–24 hours instead of 2, and that slow crawl is where flavor comes from. If your kitchen runs warm (78°F+), the dough will move faster, so start it later in the evening or cut the bulk time by a few hours. Cold kitchen? Give it the full 16.
The Process
Mix. Pour 310g of room-temperature water into a large bowl and dissolve the 10g of salt in it with a quick stir. Add the 500g of flour and 1g of instant yeast, then mix with one hand (keep the other clean for your phone; you'll want the timer) for 2–3 minutes until no dry flour remains. The dough will look shaggy, sticky, and unpromising. That's exactly right. One warning: don't use hot tap water. Anything much above 130°F starts killing instant yeast, and room temperature is all this recipe needs.
Rest. Cover the bowl with plastic wrap or a damp towel and walk away for 20–30 minutes. This rest (bakers call it an autolyse) lets the flour fully absorb the water and kick-starts gluten development while you do nothing. When you come back, the dough will already feel noticeably smoother.
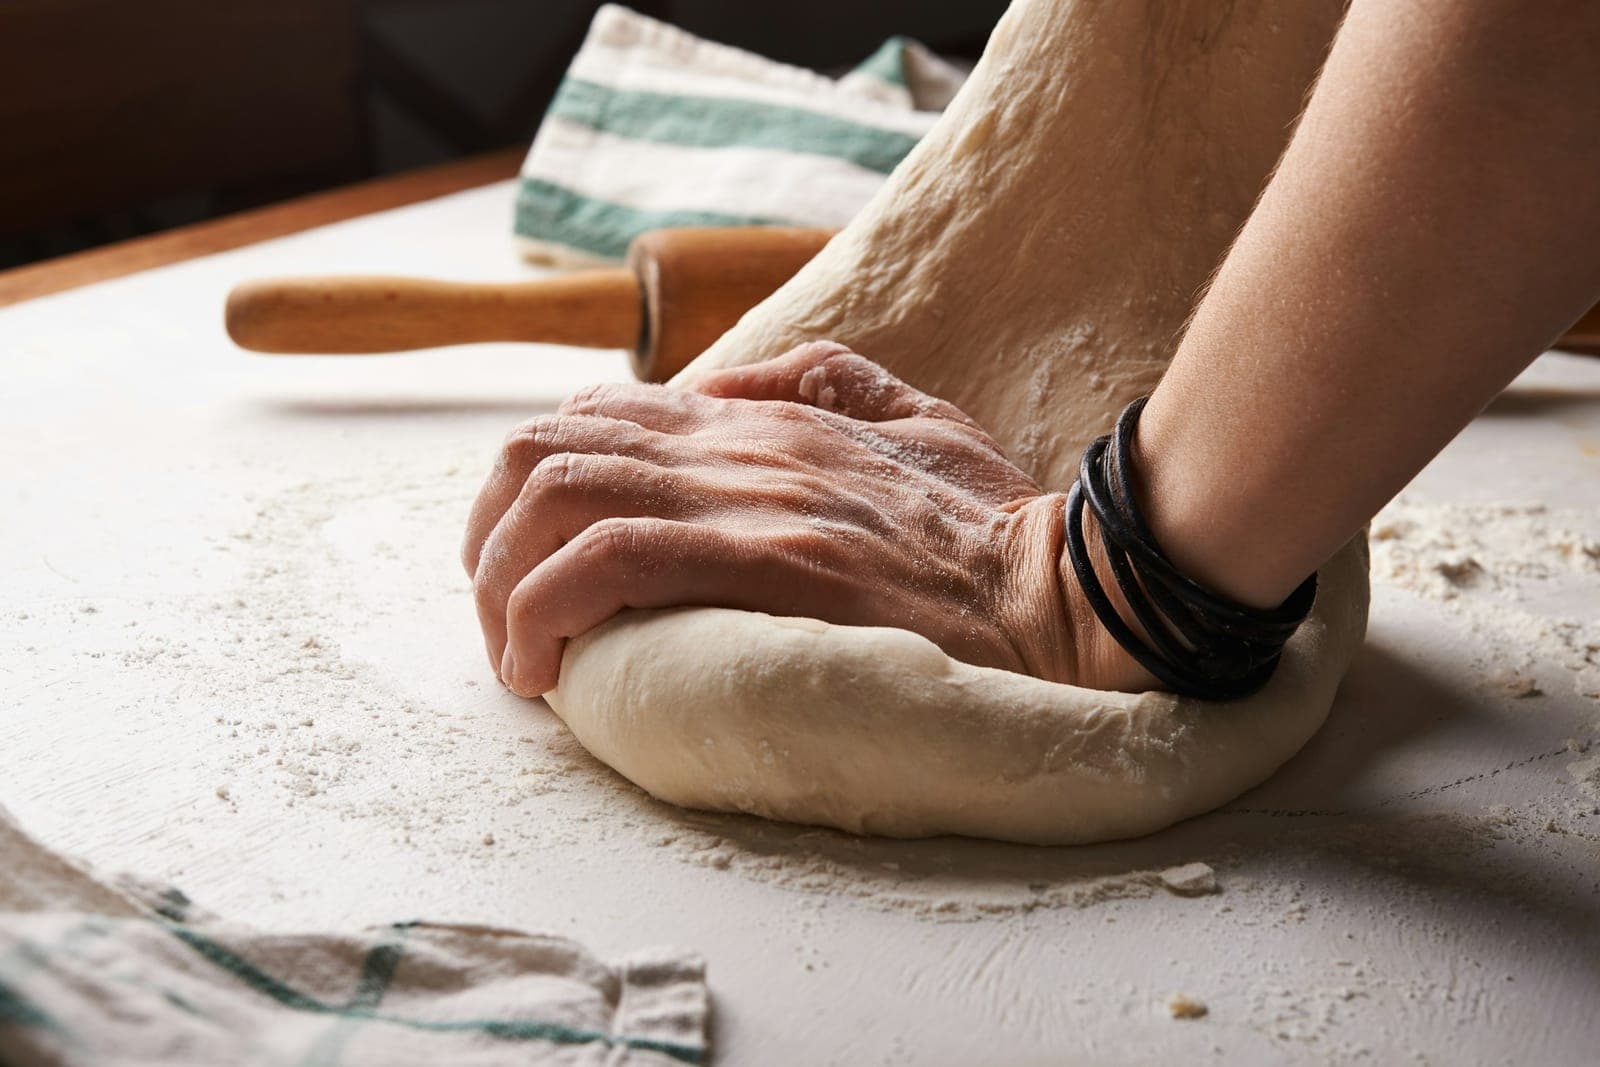
Fold. This replaces kneading. Wet one hand, grab the edge of the dough farthest from you, stretch it upward, and fold it over the center. Rotate the bowl a quarter turn and repeat; 8–10 folds total takes about 30 seconds. Then cover and rest 20 minutes, and do it again. Two or three fold sets is plenty. By the last one, the shaggy mess will have become a smooth, elastic ball that passes the poke test with a slow spring-back.
Bulk ferment. Cover the bowl and leave it on the counter at 68–74°F for 12–16 hours: overnight, in normal-kitchen terms. Mix at 8pm, and by late morning the dough should have roughly doubled, with bubbles visible under the surface and a pleasant, faintly beery smell. If your kitchen is warmer, check it earlier; a dough that has tripled and smells sharply boozy has gone too far.
Ball. Turn the dough out onto a lightly floured counter and divide it into 4 equal pieces with a bench scraper, about 205g each if you're weighing, which you should. To shape a ball: fold the corners of each piece into the middle, flip it seam-side down, then cup your hands around it and drag it toward you a few times so the surface stretches tight. A taut skin now means a dough that stretches evenly later.
Proof. Place each ball seam-side down in a lightly oiled container with a lid. Individual proofing boxes make this painless, but any lidded container with room for the ball to double works. Proof at room temperature for 4–6 hours, until the balls are puffy, relaxed, and roughly doubled. Not ready to cook tonight? Refrigerate the sealed containers for up to 72 hours instead (the flavor gets even better) and pull them out 1.5–2 hours before baking.
Shape. Generously flour the counter and both sides of a ball. Press from the center outward with flat fingertips, leaving a 1-inch rim untouched; that rim becomes the puffy, leopard-spotted crust. Once you have a thick disc, drape it over the backs of your hands and rotate, letting gravity do the stretching, until it reaches 10–11 inches with a slightly translucent center. And never, ever use a rolling pin: it flattens out every bubble the last 24 hours worked to create.
🌡️ Check the stone, not the clock
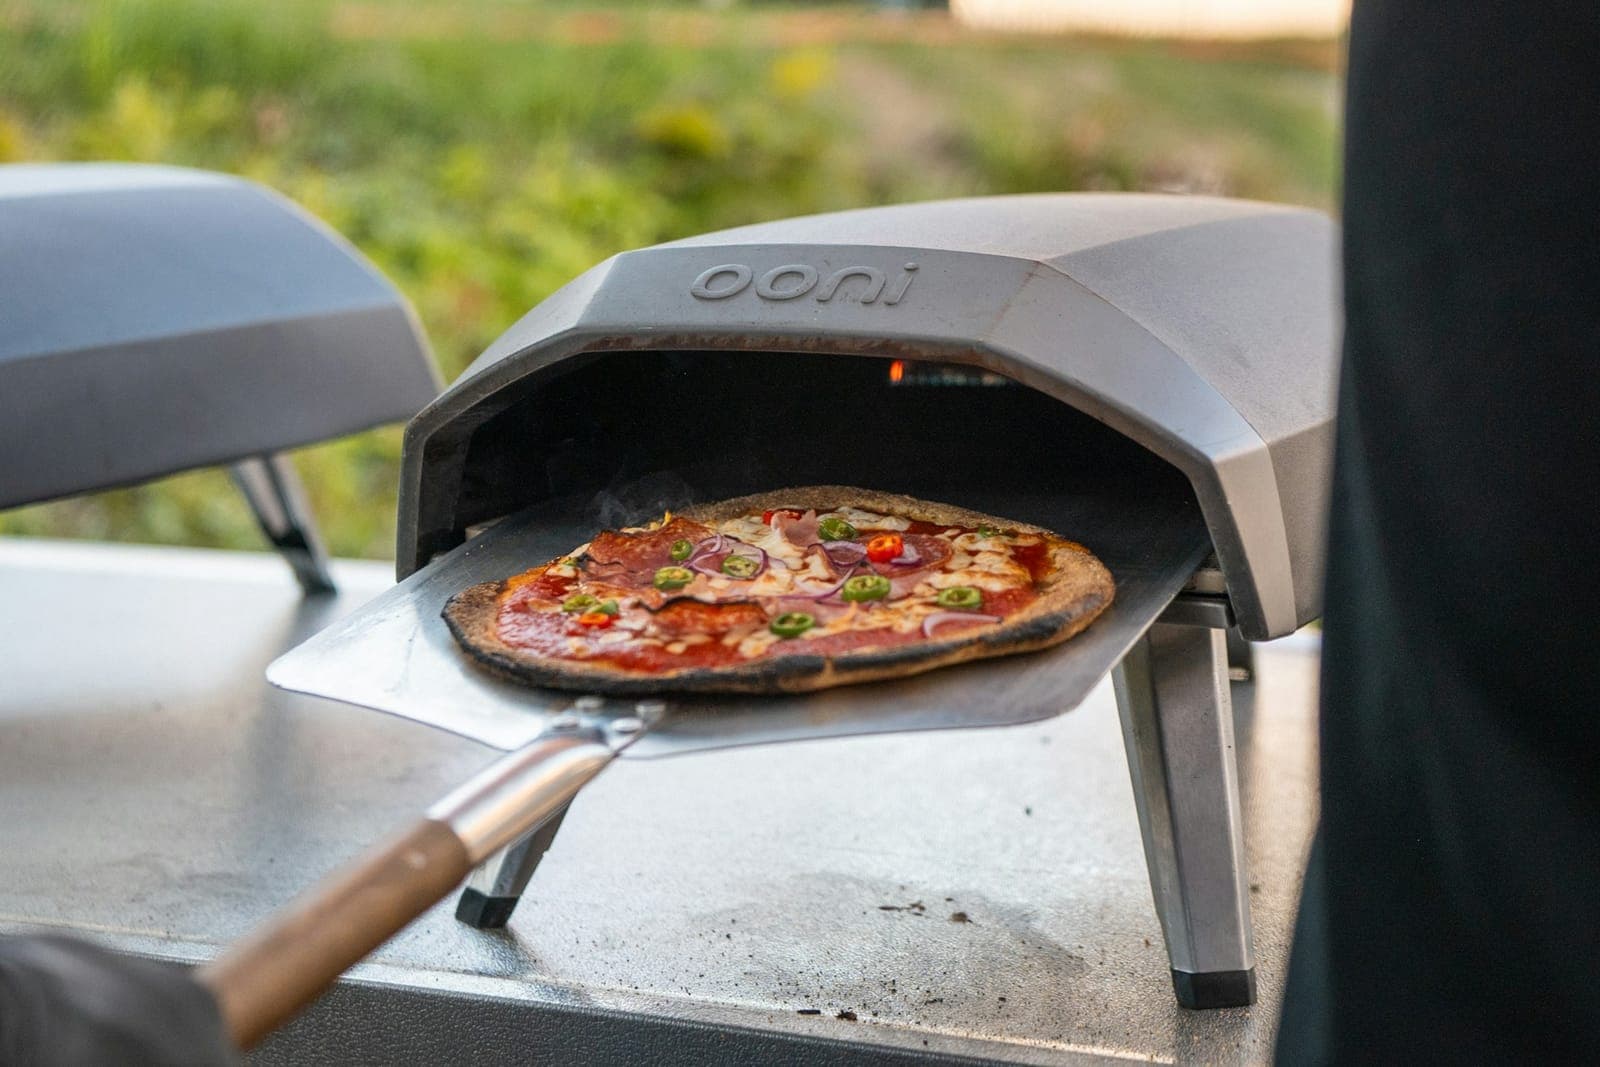
The single biggest cause of pale, floppy first pizzas is launching too early. Preheat until an infrared thermometer like the Etekcity Lasergrip 1080 reads 750–850°F in the center of the stone, typically 15–30 minutes depending on the oven. At that temperature this dough bakes in 60–90 seconds with a quarter turn every 20 seconds or so.
Pick Your Timeline
The formula flexes to fit your schedule; the only thing that changes is yeast and where the dough waits.
- Overnight (our default): 1g yeast. Mix in the evening, bulk ferment on the counter overnight, ball late morning, proof through the afternoon, cook at dinner. About 22–24 hours end to end, 30 minutes of it hands-on.
- Same-day: 3g yeast. Mix in the morning, bulk ferment 4–5 hours, ball, proof 2 hours, cook. Perfectly good pizza, just a simpler flavor: think fresh bread rather than pizzeria crust.
- Cold ferment (best flavor): 1g yeast. Follow the overnight schedule, but after balling, refrigerate the containers for 24–72 hours. Day-two and day-three dough browns more deeply and tastes noticeably more complex. Pull balls 1.5–2 hours before baking.
Launch Day
Shaping, topping, and launching are their own skill, and the place where most first pies go sideways. We walk the whole sequence, from peel prep to the turn, in our first cook guide for outdoor pizza ovens. The short version: top the pizza on the peel, work fast (under a minute and the dough won't stick), shake the peel to confirm the pizza slides before you commit, and launch with one decisive forward-and-back motion.
Keep toppings spare; this is where high-heat pizza rewards restraint. A 90-second bake can't drive off water from a heavily-loaded pie, so you end up steaming the center. Three toppings, thin sauce layer, and torn (not shredded) mozzarella is the reliable formula.
Still choosing the oven itself? Our outdoor pizza oven comparison breaks down the current field, from $300 starter ovens to 18-inch family rigs, based on specs and hundreds of owner reviews.
No Pizza Oven Yet?
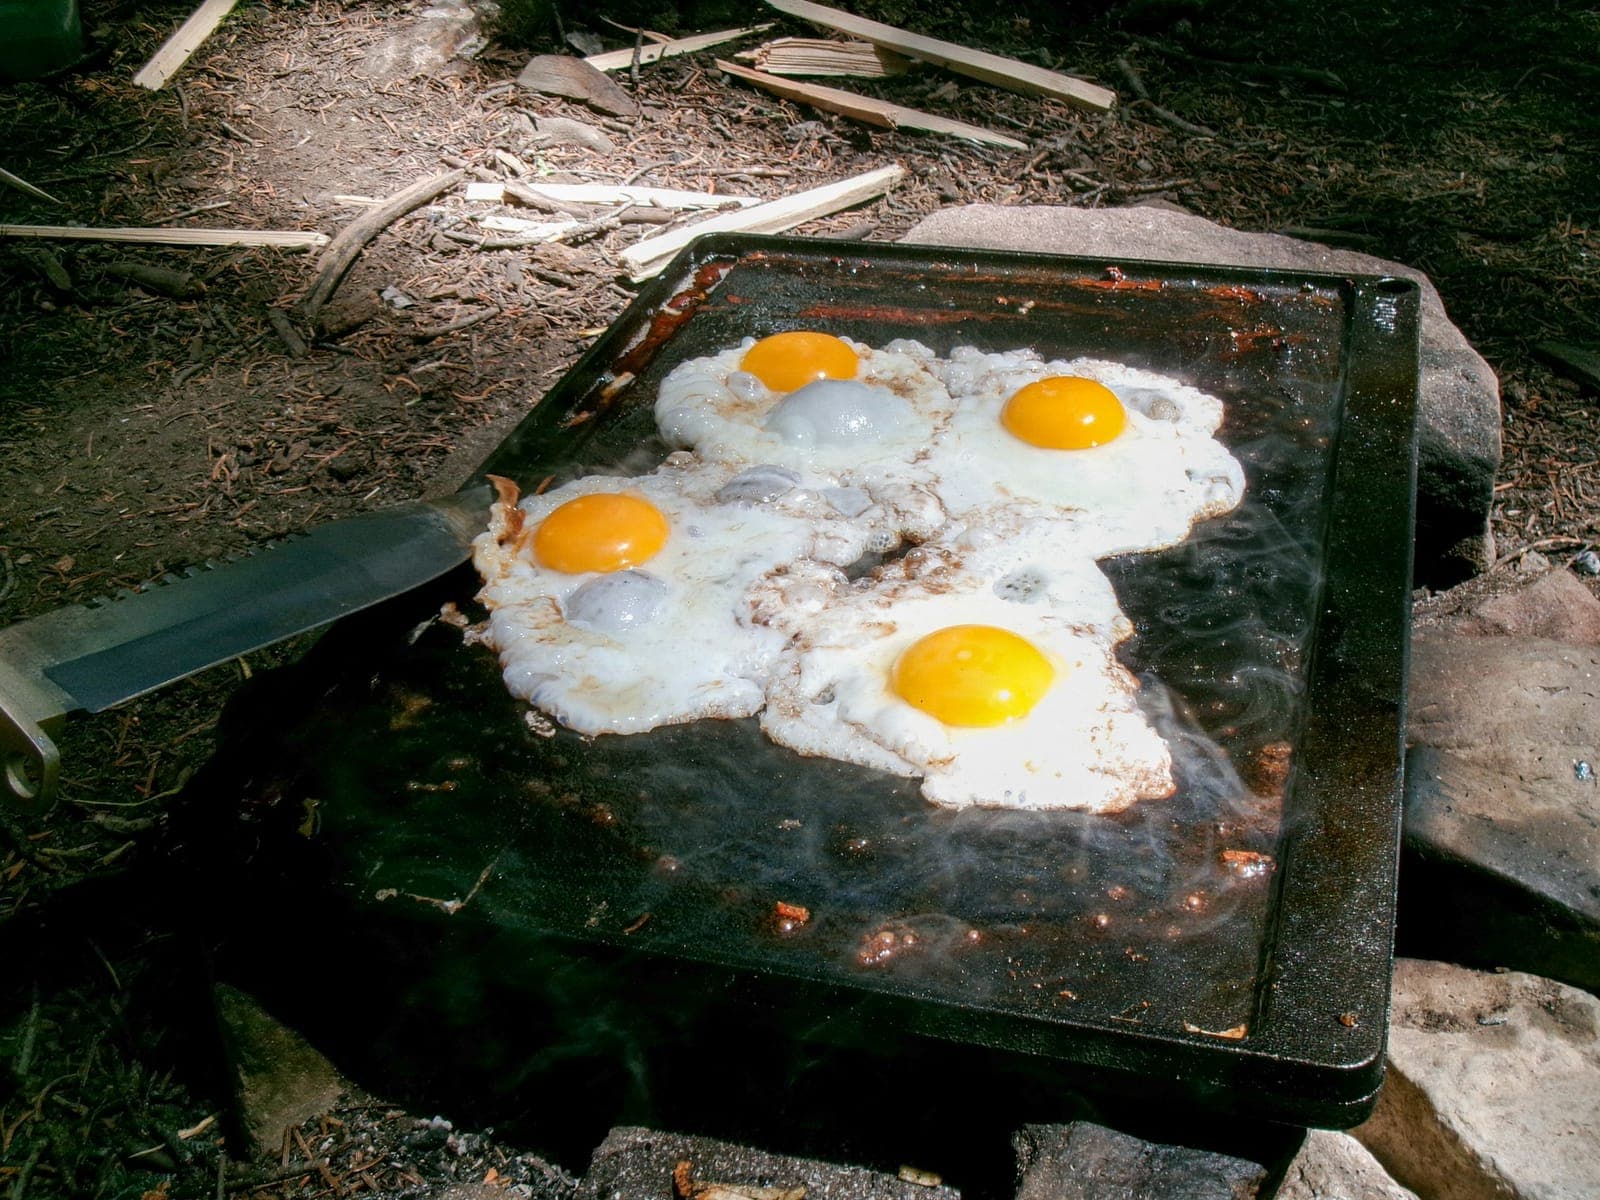
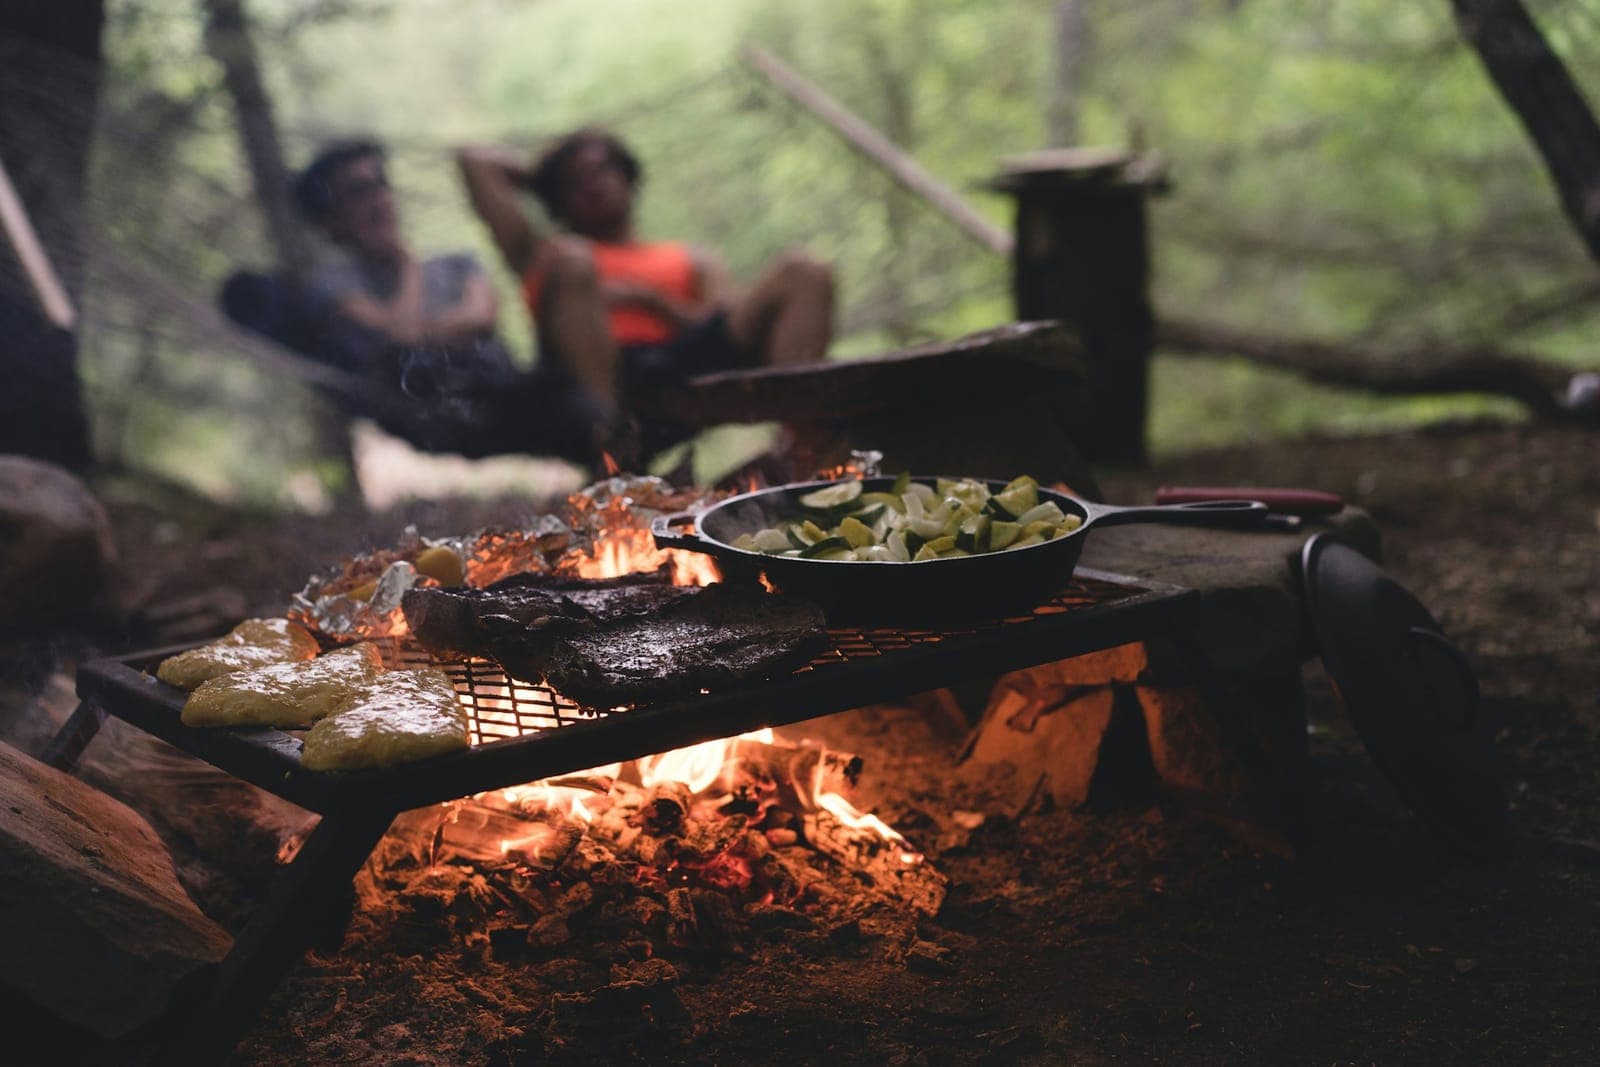
This dough doesn't need to wait for one. Stretched thin and cooked 2–3 minutes per side, it makes outstanding flatbread on a well-seasoned flat-top griddle: cook the first side, flip, top, and tent until the cheese melts. It also chars beautifully draped over a grill grate right over a fire pit, which is our favorite excuse to make pizza on a camping trip.
🧊 Freeze the extras
Only cooking two pizzas? Freeze the spare balls. After the proof, wrap each ball tightly in plastic and freeze for up to 3 months. Thaw overnight in the fridge, then give it 2 hours at room temperature before shaping. Frozen dough loses a little oven spring but still beats anything from a supermarket cooler.
Frequently Asked Questions
Can I use all-purpose flour in an outdoor pizza oven?
Yes, if you keep the stone under about 750°F. Most American all-purpose flour is malted, which makes it brown (and then blacken) very quickly at Neapolitan temperatures. Above 800°F, unmalted 00 flour buys you far more forgiveness before the crust burns, and bread flour sits comfortably in between.
What hydration is best for an outdoor pizza oven?
60–65% for ovens running 700–950°F, and 62% is where we'd start. Wet enough to stay tender and blister, dry enough to stretch and launch without drama. Save the trendy 70%+ doughs for a home oven, where longer bakes need the extra moisture.
How far in advance can I make the dough?
At room temperature with 1g of yeast, the dough peaks 20–24 hours after mixing. Ball and refrigerate it and you have up to 72 hours of runway, with flavor improving through day two. Beyond that, the dough weakens and starts to gray.
Why does my dough tear or snap back when I stretch it?
Snap-back means tight gluten: the dough is too cold or was balled too recently. Cover it, wait 15–20 minutes, and it will relax. Tearing usually means it's under-proofed (the balls never got puffy) or you've stretched the center paper-thin; leave the middle a touch thicker than looks right.
Do I need a stand mixer?
No. At this hydration, three 30-second fold sets plus the overnight ferment develop gluten as well as any machine. Total kneading-equivalent effort: about 5 minutes, most of it waiting.
What temperature should the stone be when I launch?
750–850°F at the center of the stone for a 60–90 second bake; check with an infrared thermometer rather than trusting the preheat clock. Cooler than 650°F gives you pale, bready crust; much past 900°F and the base chars before the top catches up.