Why Fire Pit Cooking Is Worth Learning
There's a reason every cooking tradition on earth started over an open wood fire: nothing else tastes like it. A steak seared over oak coals picks up a smoky crust no gas grill can fake, and the whole process (feeding the fire, raking coals, cooking by feel) is half the fun of being outside.
The catch is that most people's first attempt goes badly. They build a fire, wait ten minutes, hold food over leaping flames, and end up with sausages that are black outside and raw inside. Every problem in fire pit cooking traces back to the same mistake, and it's fixable with nothing but patience.
The One Rule: Cook Over Coals, Not Flames
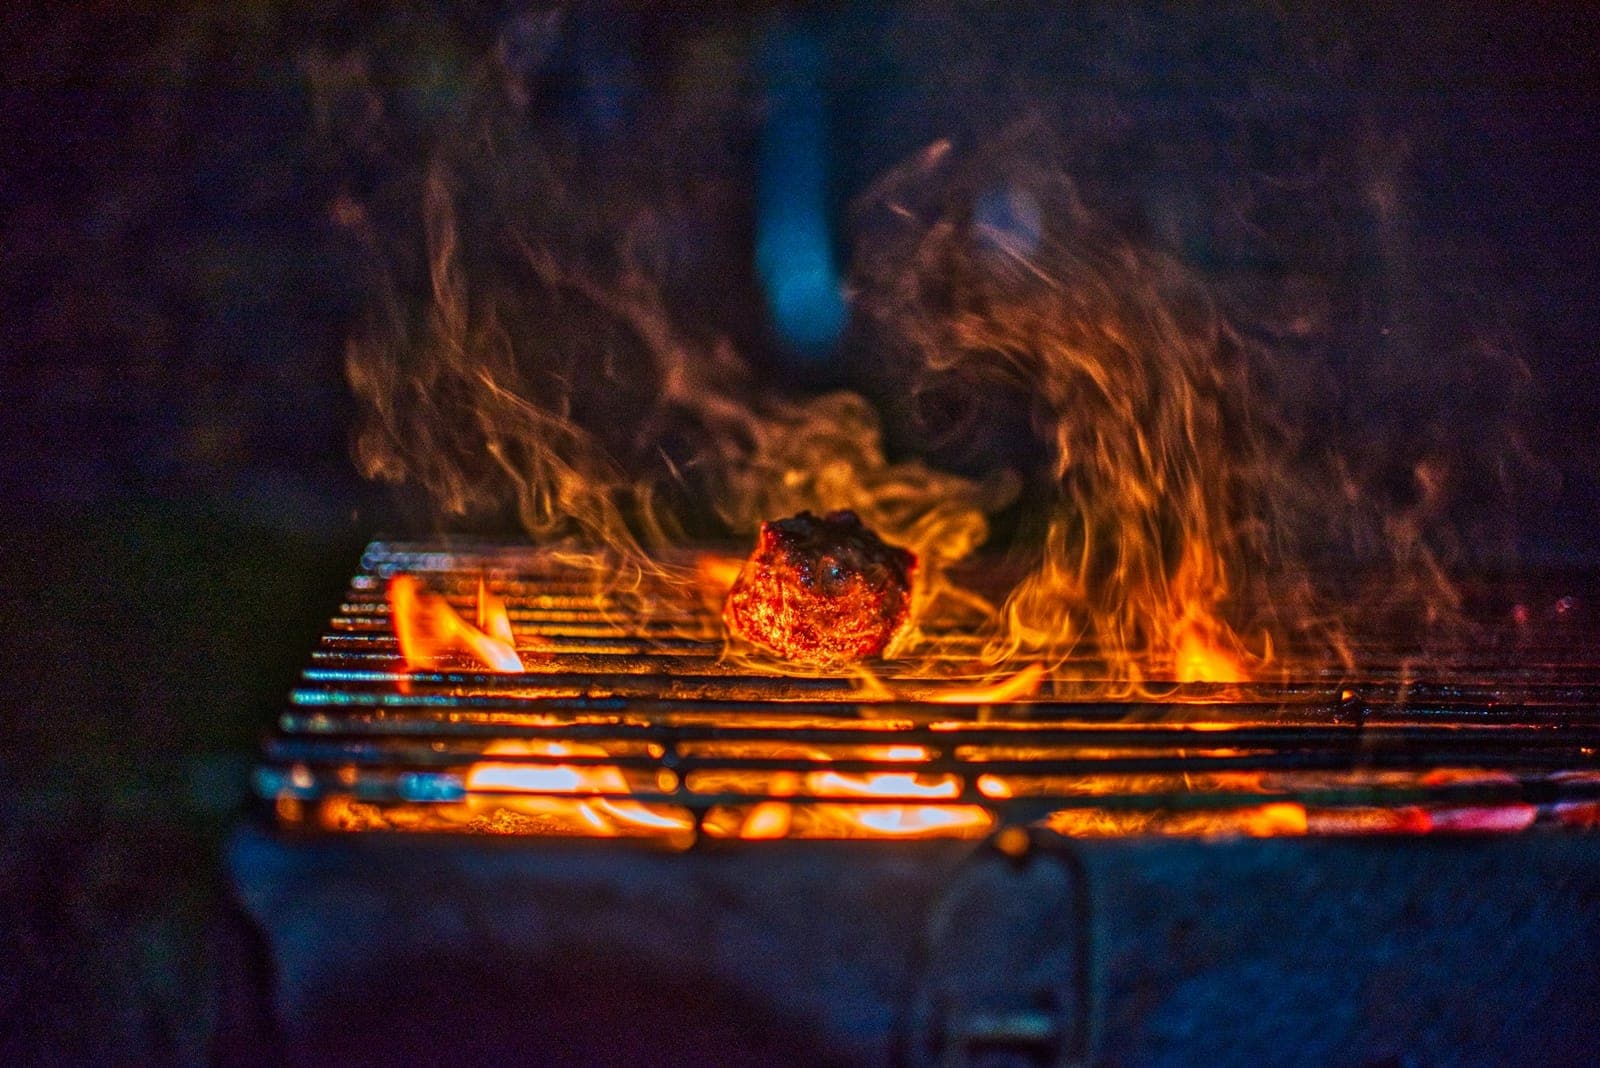
Flames are terrible to cook over. They're erratic, they deposit soot, and they run 1,000°F+ at the tips, hot enough to char the surface of food long before the center cooks. Coals are the opposite: a bed of glowing embers dusted with gray ash radiates steady, predictable heat, the same way a broiler element does. That's what you cook over.
Practically, this means one thing: build your fire 45–60 minutes before you want to cook. Light it, let it roar, add a few more splits, and wait for the whole structure to collapse into embers. It feels slow the first time. It's also the entire secret.
💡 The hand test
No thermometer reads a coal bed, so cooks have used this for centuries: hold your palm about 5 inches above the cooking grate and count. If you have to pull away in 2–3 seconds, that's searing heat (roughly 450–550°F), steak territory. 4–5 seconds is medium heat for sausages and chicken. 6–7 seconds is gentle heat for vegetables and keeping things warm.
Choosing Your Firewood
Wood is your fuel and your seasoning, so it's worth being picky. You want seasoned hardwood: wood that's been split and dried for 6+ months, so it burns hot and clean instead of hissing and smoldering.
- Oak: the workhorse. Long, steady burn, big coal bed, medium smoke flavor. If you only stock one wood, stock oak.
- Hickory: hotter and more assertive. Classic BBQ flavor that stands up to beef and pork.
- Maple, apple, cherry: milder and sweeter. Great with chicken, vegetables, and anything delicate.
What to avoid matters just as much. Softwoods like pine and spruce are full of resin; they spit, flare, and coat food in acrid soot. And never, ever burn construction scraps, pallets, painted or pressure-treated lumber, or chemical fire logs. The fumes are genuinely toxic, and they have no place under food.
Setups: Grates, Tripods, Skewers, and Cast Iron
You need something to hold food over (or in) the coals. Four setups cover essentially all of fire pit cooking:
A grill grate is the default, and the most versatile. Position it 4–6 inches above the coal bed for searing, higher for gentler cooking. A swivel grate that stakes into the ground beside the pit is our favorite style for beginners: around $45, and the 360° swing means you can rotate the whole cooking surface off the fire in one second when things flare up. That swing is the cheapest form of heat control there is. For a full breakdown of grates, pits, and swivel systems, see our best fire pit grills roundup.
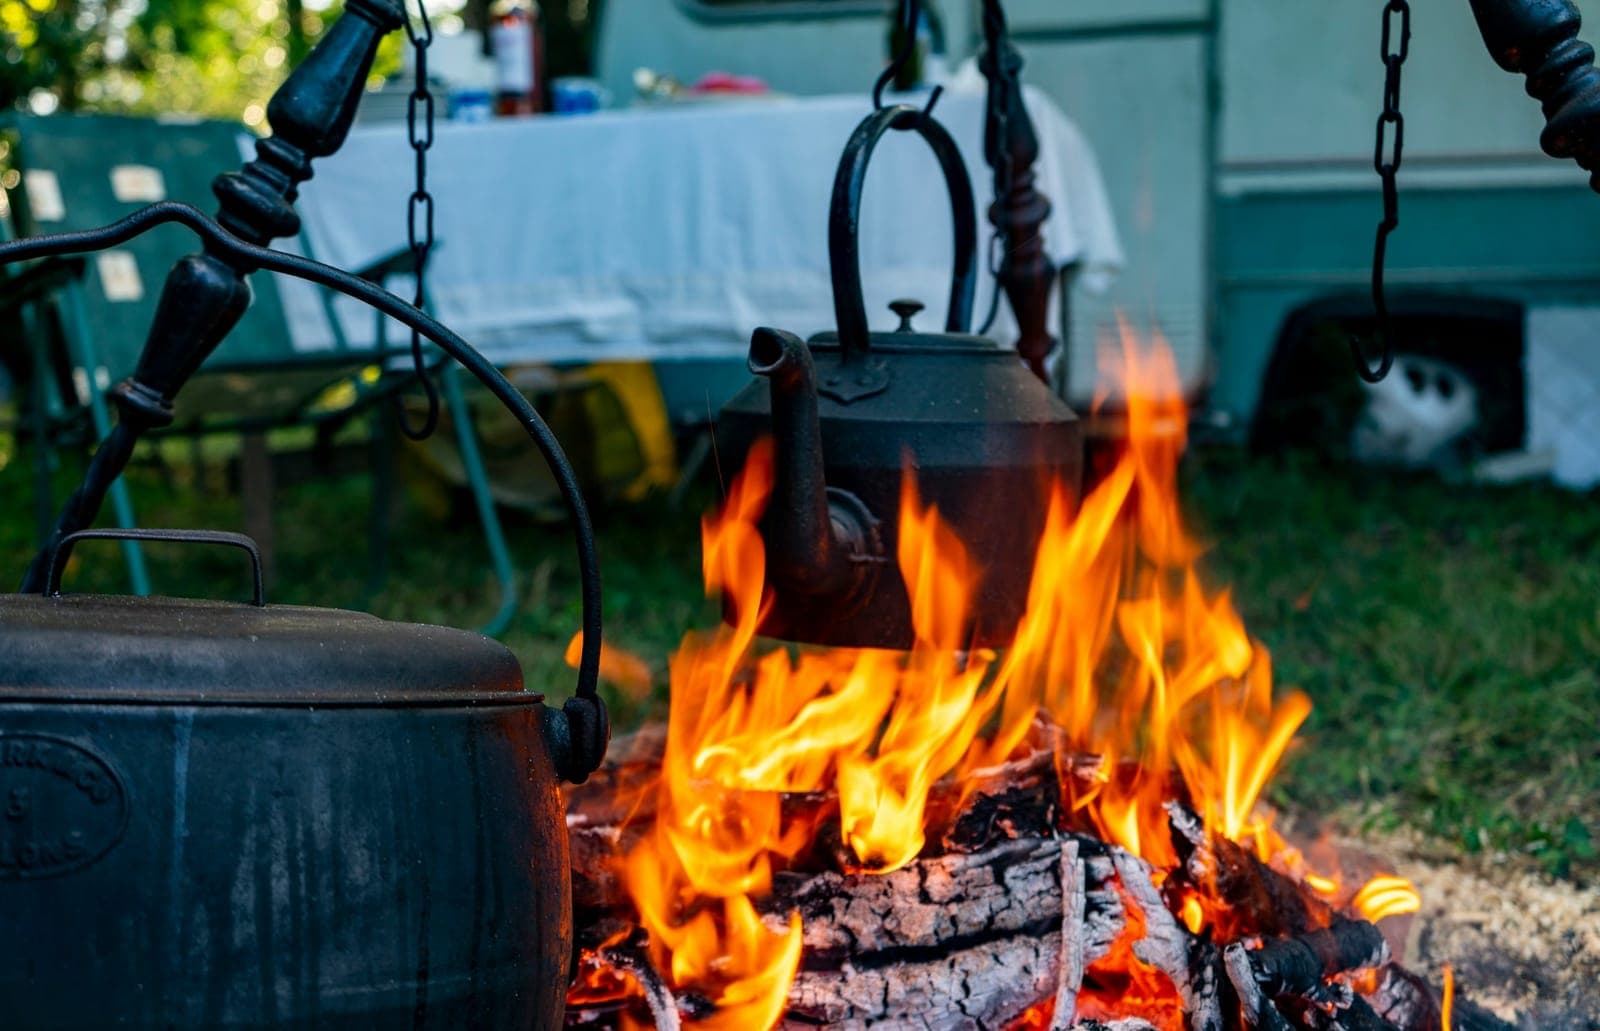
A tripod hangs a Dutch oven or kettle from a chain over the fire. Raising and lowering the chain is your temperature knob. Paired with a legged camp Dutch oven, it handles the whole simmered side of the menu: chili, stews, beans, even cobbler with coals shoveled onto the lid. If that style of cooking appeals to you, our Dutch oven camping guide goes deep on coal counts and baking.
Skewers are the zero-gear option: kebabs, sausages, halloumi, bread dough twisted around a stick. Hold them over the coals, not in the flames, and keep them moving.
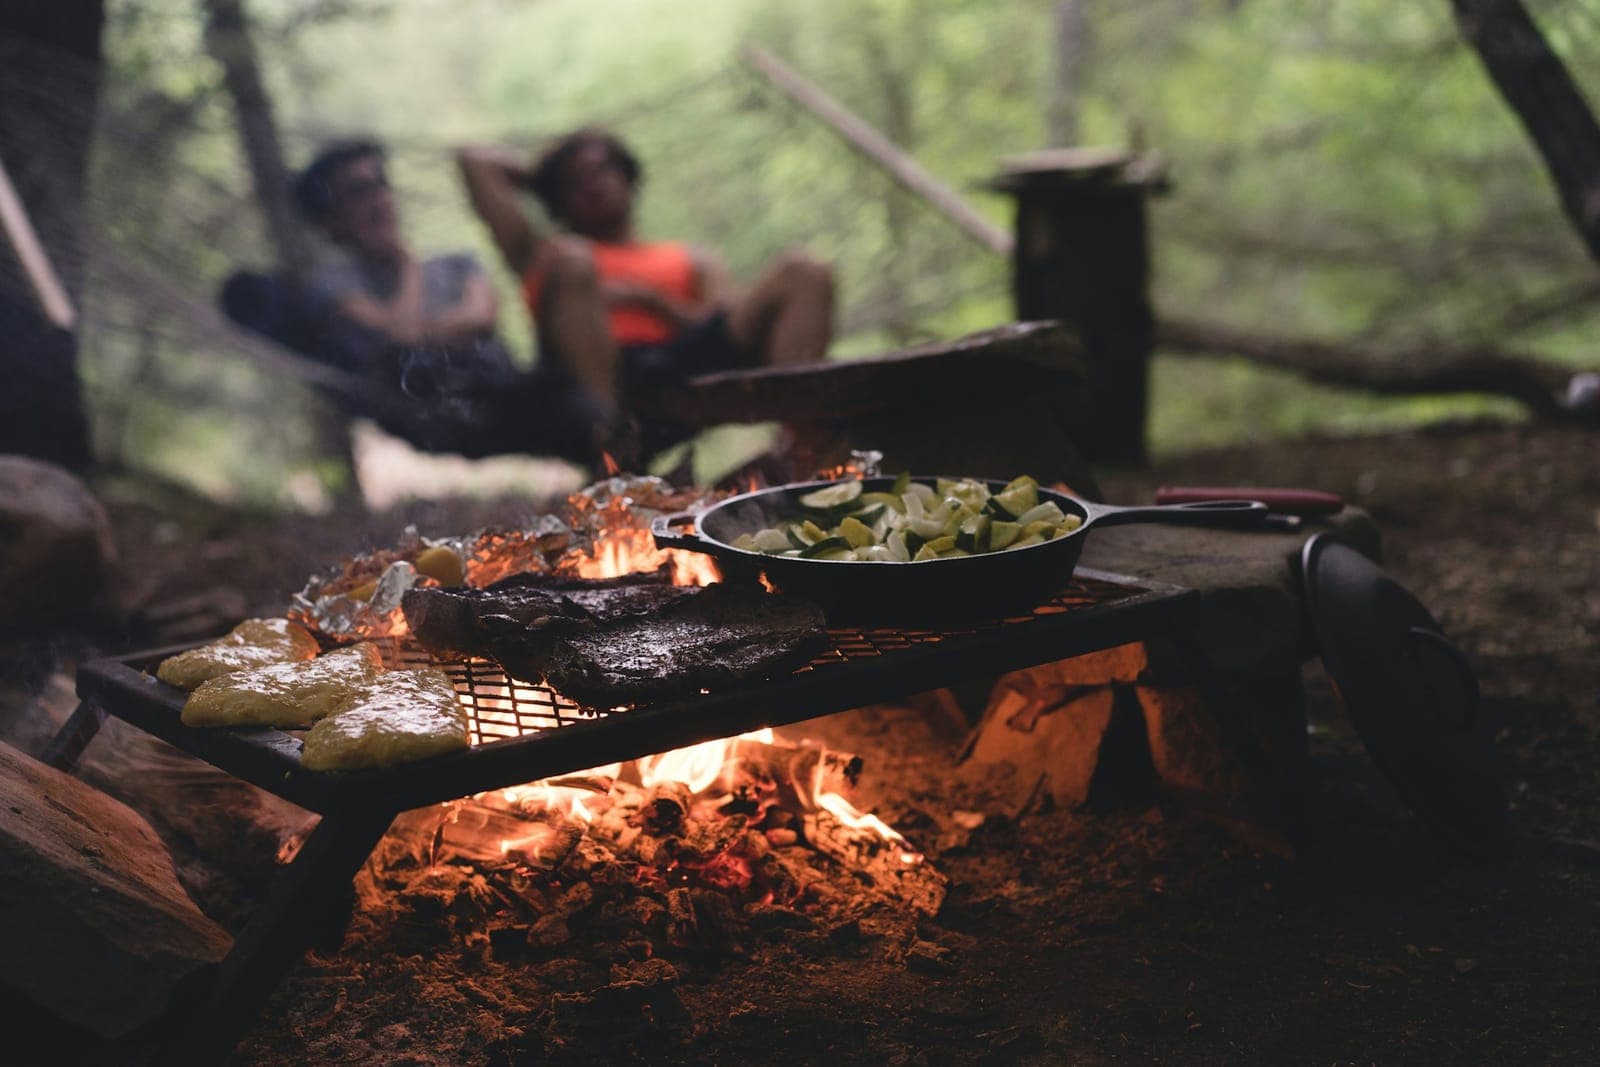
Cast iron is the cheat code. A 12-inch skillet set directly on a grate (or nestled right at the edge of the coal bed) turns your fire pit into a stovetop. Smash burgers, fried potatoes, eggs, cornbread: if it works in a pan indoors, it works in cast iron over coals.
🔥 Smokeless pit owners
Flat-bottom smokeless pits like the Solo Stove Bonfire 2.0 can't take a ground-stake grate, but the brand's hub + cast iron grill top converts one into a genuine wood-fired grill. Two things owners consistently report: these pits burn through wood noticeably faster than an open ring, so stock extra splits; and the low-smoke burn is real, which your neighbors will appreciate.
The Process, Step by Step
Check local fire rules. Before anything else, look up whether open fires are currently allowed where you live or camp. Burn bans come and go with the weather, and many municipalities have rules about cooking fires specifically: distance from structures, pit type, even time of day. Thirty seconds on your county or campground's website saves a fine (or worse).
Build the fire 45–60 minutes early. Stack seasoned hardwood in a loose log-cabin or teepee shape over a natural fire starter and light it. Let it burn hard, and add two or three more splits once it's established. You're not building ambiance; you're manufacturing coals, and volume matters. A skimpy fire makes a skimpy coal bed that dies halfway through dinner.
Let it burn down to coals. After 45 minutes or so, the flames will collapse and you'll be left with a deep bed of glowing orange embers filmed in gray ash. That gray-orange glow is the signal. If tall flames are still dancing, wait; this is the step everyone rushes and regrets.
Rake a two-zone coal bed. With a shovel, poker, or metal rake, pull about three-quarters of the coals to one side of the pit. Now you have a hot zone for searing and a cool zone for gentle cooking and parking food, exactly the same two-zone logic we teach in charcoal grilling, just with wood coals. Keep a small feeder fire burning at the far edge of the pit and shovel fresh coals into your hot zone as it fades.
Set up your cooking surface. Stake or set your grate 4–6 inches above the coals and give it five minutes to get screaming hot (a hot grate sears; a cold one sticks). Hanging a Dutch oven? Set the tripod legs wide and outside the coal bed. Using cast iron, let the pan preheat until a drop of water skitters across it. Gloves on for all of this; every piece of metal near a fire is hotter than it looks.
Cook over the coals. Sear over the hot zone, finish over the cool zone. Expect flare-ups when fat drips; don't panic, just slide (or swivel) the food away and let the flame die. Turn things more often than you would on a gas grill; radiant coal heat is intense and uneven, and frequent turning is how you get evenly cooked food instead of one charred side.
Check temps, then kill the fire properly. Firelight makes everything look done, so trust a thermometer, not your eyes: poultry to 165°F, ground meat to 160°F, whole-muscle steaks and chops to 145°F with a 3-minute rest, fish to 145°F. (Our meat thermometer guide covers where to probe.) When dinner's over, drown the coals with water, stir them, and drown again until everything is cool to the touch. A coal bed can stay hot enough to reignite for many hours; never just walk away.
What Actually Works Over a Fire (and What Doesn't)
Live fire rewards food that's sturdy, fatty, or forgiving. The greatest hits:
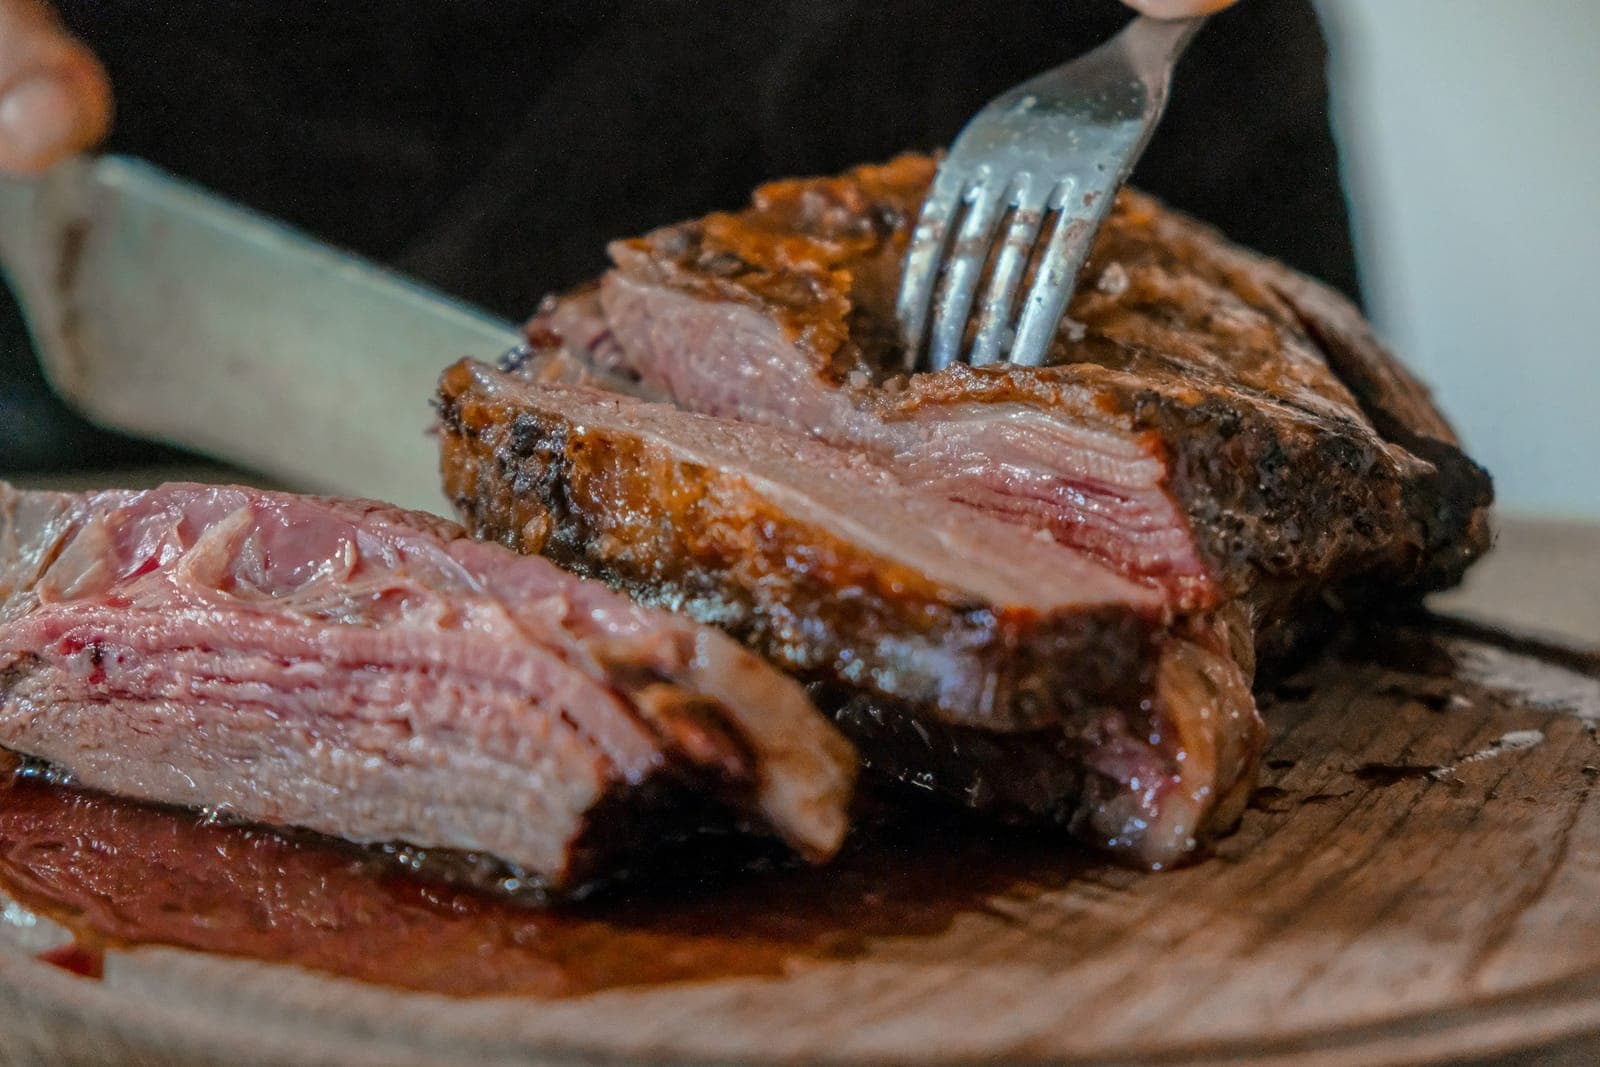
- Thick steaks: the fire pit's signature dish. Ribeye or strip, 1.5 inches thick, seared hard over the hot zone and finished on the cool side to 145°F.
- Sausages: nearly foolproof on the cool zone. Slow and patient beats hot and split-open.
- Chicken thighs: far more forgiving than breasts over live fire. Mostly cool zone, crisped over the hot zone at the end, always to 165°F.
- Sturdy vegetables: corn in the husk, whole peppers and onions right on the grate, potatoes wrapped in foil and buried at the edge of the coals for about 40 minutes.
- Anything in cast iron: smash burgers, fajitas, skillet cornbread, breakfast. The pan evens out the fire's hot spots.
What doesn't work: delicate fish fillets directly on a grate (they weld themselves to it; use the skillet), thin lean cuts that overcook in a blink, and true low-and-slow projects. A 12-hour brisket needs the steady, controlled temperature of a smoker; an open pit swings too much to hold 225–275°F for that long.
🧤 Respect the metal
The most common fire pit injury isn't from flames; it's from grabbing a grate handle, pot lid, or skillet that's been sitting in radiant heat. Treat every piece of metal within three feet of the fire as too hot to touch, and keep proper heat-resistant gloves (not thin oven mitts) with your fire kit.
Safety and Local Fire Rules
None of this is complicated, but all of it is non-negotiable:
- Check burn bans every single time. Conditions change weekly in fire season. Your county, state forestry department, or campground office will have current restrictions.
- Give the fire room. Most codes want a pit at least 10–25 feet from structures, fences, and overhanging branches; check your local rules. Clear dry leaves and grass from the area around it.
- No accelerants, ever. Lighter fluid and gasoline have no place near a cooking fire. Use a natural fire starter and dry kindling.
- Keep water within reach: a full bucket or a charged hose, before you light, not after something goes wrong.
- Never leave it unattended, and keep a three-foot no-kids-no-pets zone around the pit.
- Out means cold. Drown, stir, drown again, then hold the back of your hand near the ashes. If you feel heat, it's not out.
Fire Pit Cooking FAQ
Do you cook over flames or coals in a fire pit?
Coals. Flames are erratic, sooty, and hot enough to char the outside of food before the inside cooks. A bed of glowing coals covered in gray ash puts out steady, radiant heat, like a broiler you can actually control. Build your fire 45–60 minutes before you plan to cook so it has time to burn down.
How long before you can cook on a fire pit?
Plan on 45–60 minutes from lighting the fire to cooking. Hardwood needs that long to collapse into a usable coal bed. If you start cooking at the leaping-flame stage, you'll scorch everything; the wait is the single biggest difference between good and bad fire pit food.
What is the best wood for cooking over a fire pit?
Seasoned hardwood: oak for a long, steady burn, hickory for a stronger smoky flavor, maple or fruitwoods like apple and cherry for something milder and sweeter. Avoid softwoods like pine and spruce (resinous, sooty smoke), and never burn painted, stained, or pressure-treated lumber; the fumes are toxic.
Can you cook on a smokeless fire pit like a Solo Stove?
Yes, with the right add-on. Flat-bottom smokeless pits don't work with stake-style campfire grates, but Solo Stove sells a hub-and-grill-top system that turns a Bonfire into a legitimate wood-fired grill. The efficient draft means these pits burn wood fast, so keep extra splits within reach.
Is it safe to cook over any fire pit?
Any wood-burning pit or ring is fair game as long as you burn clean, untreated hardwood. Skip cooking over decorative gas fire pits (most manufacturers advise against it because grease fouls the burner and media), and never cook over chemical fire logs or trash. Check your pit's manual if in doubt. If you're still shopping for a pit or grate that's built for cooking, our fire pit grill comparison covers the setups we'd actually buy.