The Cheapest Upgrade in Outdoor Cooking
Here's an uncomfortable truth: most overcooked chicken, gray steak, and rubbery pork wasn't ruined by the grill. It was ruined by guessing. Poking meat with a finger, cutting into it to peek, cooking "10 minutes per side". None of it tells you what's happening in the center of the meat, which is the only place doneness actually lives.
A thermometer replaces all of that with a number. It's the single cheapest upgrade in outdoor cooking (a reliable instant-read starts around $17), and it pays for itself the first time it saves a $60 brisket or keeps a Thanksgiving turkey out of the danger zone. We dug through hundreds of owner reviews and every major comparative test to build our best meat thermometers guide, but the honest secret is this: technique matters more than the tool. A $17 thermometer used well beats a $115 one jabbed into the wrong spot.
This guide covers the technique: where to probe, how to find the true coldest point, why you pull meat early, and the temperatures worth memorizing.
Instant-Read vs. Leave-In vs. Wireless
There are three kinds of meat thermometers, and they solve different problems. Most serious outdoor cooks eventually own two: an instant-read for spot checks and a leave-in for long cooks.
Instant-read thermometers
A probe on a stick. You open the lid, stab the meat, get a number in 1–5 seconds, and pull it back out. This is the one to buy first; it works for everything from burgers to whole turkeys. The ThermoPro TP19H (~$17, sold as "TempPro" after a 2026 rebrand; same company, same product) is the budget default, with the honest caveat that real-world reads take 5–8 seconds despite the marketing. The ThermoWorks Thermapen ONE (~$115) is the professional standard: true 1-second reads, ±0.5°F accuracy, and the consensus top pick of nearly every serious testing outlet. You do not need it to cook great food. You will not regret it either.
Leave-in probe thermometers
A probe that stays in the meat for the whole cook, wired to a base unit that sits outside the cooker. Essential for roasts and smokes, because every time you open the lid to spot-check, you dump heat and stretch the cook. Never leave an instant-read inside a grill or oven; the plastic body and electronics aren't built for it.
Wireless probes
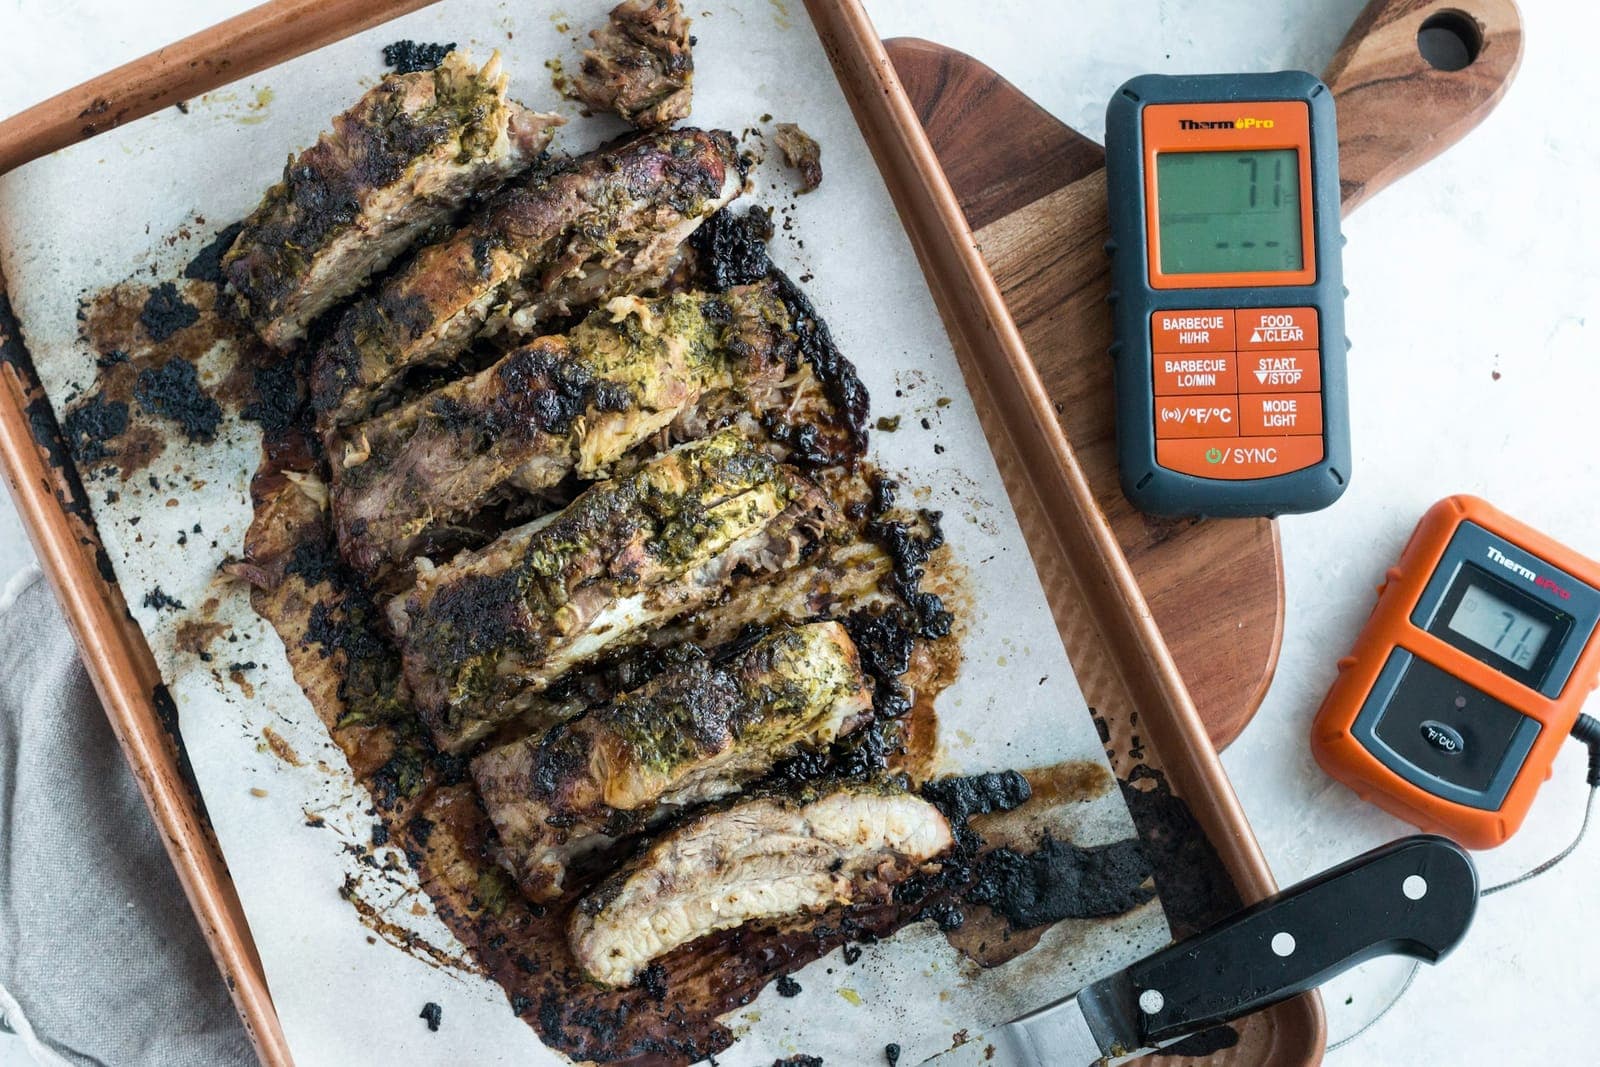
The modern version of the leave-in: a fully wireless probe with no cables through the lid, reporting to your phone. The ThermoPro TempSpike (~$50, often $40) is the budget pick that actually tested accurate; the MEATER Pro (~$120) adds a multi-sensor tip and the best app in the category, though owners consistently report real-world Bluetooth range well below the claimed spec. If you're running long cooks on a pellet smoker, a wireless probe plus the smoker's own controller means you can monitor a 12-hour brisket from your couch.
💡 Which one first?
Buy the instant-read. A leave-in or wireless probe tells you when to start paying attention; the instant-read makes the final call, checks multiple spots, and works on burgers, chops, and everything the leave-in is too clumsy for. Our full thermometer comparison ranks the top picks in both categories.
How to Take an Accurate Reading
The number on the display is only as good as where the probe tip is sitting. The sensor is in the last half-inch or so of the probe; that tiny spot is what you're reading, not the whole piece of meat. Here's the process, start to finish.
Go for the thickest part. The thickest section is always the last to cook, so that's where doneness is decided. On a chicken breast, that's the fat end; on a whole bird, the deepest part of the thigh; on a pork chop or steak, the center of the thickest section. For thin cuts, insert the probe horizontally through the side instead of straight down; you'll get more sensor in the meat and a truer reading.
Avoid bone, fat, and metal. Bone heats faster than muscle and reads high; probe alongside it, not against it. Thick fat pockets insulate and read low. And if the probe tip touches the grill grate, the pan, or pokes out the far side, you're measuring the cooker, not the food. If a number seems weirdly high or low, assume the probe is touching something it shouldn't and reposition.
Find the thermal center. This is the move that separates people who own thermometers from people who use them well. Push the probe most of the way through the meat, then draw it back slowly while watching the display. The number will dip, bottom out, and rise again. That lowest number is the thermal center, the coldest point in the meat, and it's the only number that matters.
Check more than one spot. Meat is irregular. Thickness varies, bones shield some areas, and most grills have hot spots that cook one side faster. On anything bigger than a chop, probe two or three places. On a whole chicken or turkey, check both thighs and the deepest part of the breast; every spot needs to pass. Wipe the probe with a paper towel between checks on different pieces so you're not dragging raw juices onto nearly-done meat.
Check at the right time. Don't wait until the meat "looks done"; start checking about 10–15 minutes before you expect it to finish (or 5°F–10°F before target on a leave-in probe). Temperatures climb slowly at first and fast at the end, especially on thin cuts over direct heat. Checking early costs you nothing; checking late costs you dinner.
Pull early and rest. The meat keeps cooking after it leaves the heat; that's carryover, covered below. Pull steaks and chops about 5°F below your target and big roasts up to 10°F below, then let them rest. The temperature will coast up to your number while the juices redistribute.
🌡️ The lowest number wins
When two probe spots disagree, the lower reading is the truth you act on. The coldest point in the meat determines both food safety and doneness: a chicken thigh at 165°F next to one at 150°F is not a done chicken.
Carryover Cooking: Why You Pull Early
Meat doesn't stop cooking when it comes off the grill. The outer layers are hotter than the center, and that heat keeps flowing inward for several minutes. A steak pulled at 130°F will coast to roughly 135°F on the cutting board. A big roast or turkey, with far more stored heat in its outer layers, can climb 10–15°F while it rests.
The working rules:
- Steaks, chops, chicken pieces: pull about 5°F below target, rest 5–10 minutes.
- Large roasts, whole birds, prime rib: pull 10°F (sometimes 15°F) below target, rest 20–30 minutes loosely tented with foil.
- Low-and-slow BBQ: carryover is smaller because the cooker runs at only 225–275°F, so there's less stored heat. Brisket and pork butt get rested anyway (an hour or more) for texture, not carryover. Our brisket guide covers the long rest in detail.
This is the answer to the eternal "why is my chicken always dry" question. If you cook a chicken breast until the thermometer says 165°F over the fire, carryover pushes it to a dry 170°F+. Pull it at 160°F, rest it five minutes, and it finishes at 165°F: safe and dramatically juicier.
Calibration: The 60-Second Ice Bath Test
Even good thermometers drift, and cheap ones sometimes arrive wrong out of the box. Checking takes one minute:
- Fill a tall glass all the way with ice, then top it off with cold water.
- Stir and wait 30 seconds so the water settles at exactly 32°F (0°C).
- Insert the probe into the middle of the glass, tip in the ice-water slurry, not touching the glass itself.
- Read it. 32°F means you're calibrated. Within 2°F is fine for grilling; just remember the offset. More than that, recalibrate (many models have a reset or adjustment) or replace it.
You can also verify the hot end in boiling water (212°F at sea level), but altitude matters: the boiling point drops roughly 2°F for every 1,000 feet of elevation, so at 5,000 feet water boils at about 202°F. The ice bath is more reliable for most people. Check calibration a couple of times a year, after any hard drop, and always before a high-stakes cook like Thanksgiving.
The Temperature Chart
Three sets of numbers get mixed together constantly online, and the confusion causes real problems. They're different things: USDA safe minimums are about killing pathogens, BBQ targets are about breaking down collagen, and chef-style steak temps are about preference.
USDA safe minimum temperatures
These are the food-safety floor: the numbers that matter most for poultry and ground meat.
| Food | USDA Minimum | Notes |
|---|---|---|
| Poultry (whole, parts, ground) | 165°F | Every spot (thigh, breast, wing) must hit it |
| Ground beef, pork, lamb | 160°F | Grinding spreads surface bacteria throughout; burgers are not steaks |
| Whole-muscle beef, pork, lamb, veal | 145°F | Plus a 3-minute rest |
| Fish | 145°F | Or until the flesh is opaque and flakes easily |
BBQ doneness targets
Barbecue cuts blow far past "safe" on purpose. Collagen-heavy cuts like brisket and pork shoulder are technically safe at 145°F but inedibly tough: the connective tissue needs hours in the 160–205°F range to melt into gelatin.
| Cut | Target | The real test |
|---|---|---|
| Brisket | ~203°F | Probe-tender: the probe slides in like soft butter |
| Pork butt (pulled pork) | 195–205°F | The bone wiggles free cleanly |
| Pork ribs | ~195–203°F | The bend test: rack cracks on the surface when lifted |
| Beef short ribs | ~200–205°F | Probe-tender, same as brisket |
Notice the "real test" column. On big BBQ cuts, temperature gets you to the neighborhood and feel makes the final call; every brisket finishes on its own schedule. That's also why a leave-in probe plus a well-managed fire matters more than obsessively chasing an exact number.
Chef-style steak temperatures (personal preference)
Important distinction: the temps below are the doneness levels restaurants and steak lovers use, and everything under 145°F is below the USDA's recommendation for whole-muscle beef. Cooking a quality steak medium-rare is a personal choice millions of people make, but it is a choice, not USDA guidance, and higher-risk diners (pregnant, immunocompromised, very young or elderly) should stick to the official numbers.
| Doneness | Final temp | Pull temp (before rest) |
|---|---|---|
| Rare | 120–125°F | ~115–120°F |
| Medium-rare | 130–135°F | ~125–130°F |
| Medium | 135–145°F | ~130–140°F |
| Medium-well | 145–155°F | ~140–150°F |
| Well done | 155°F+ | ~150°F+ |
🔥 High heat, fast checks
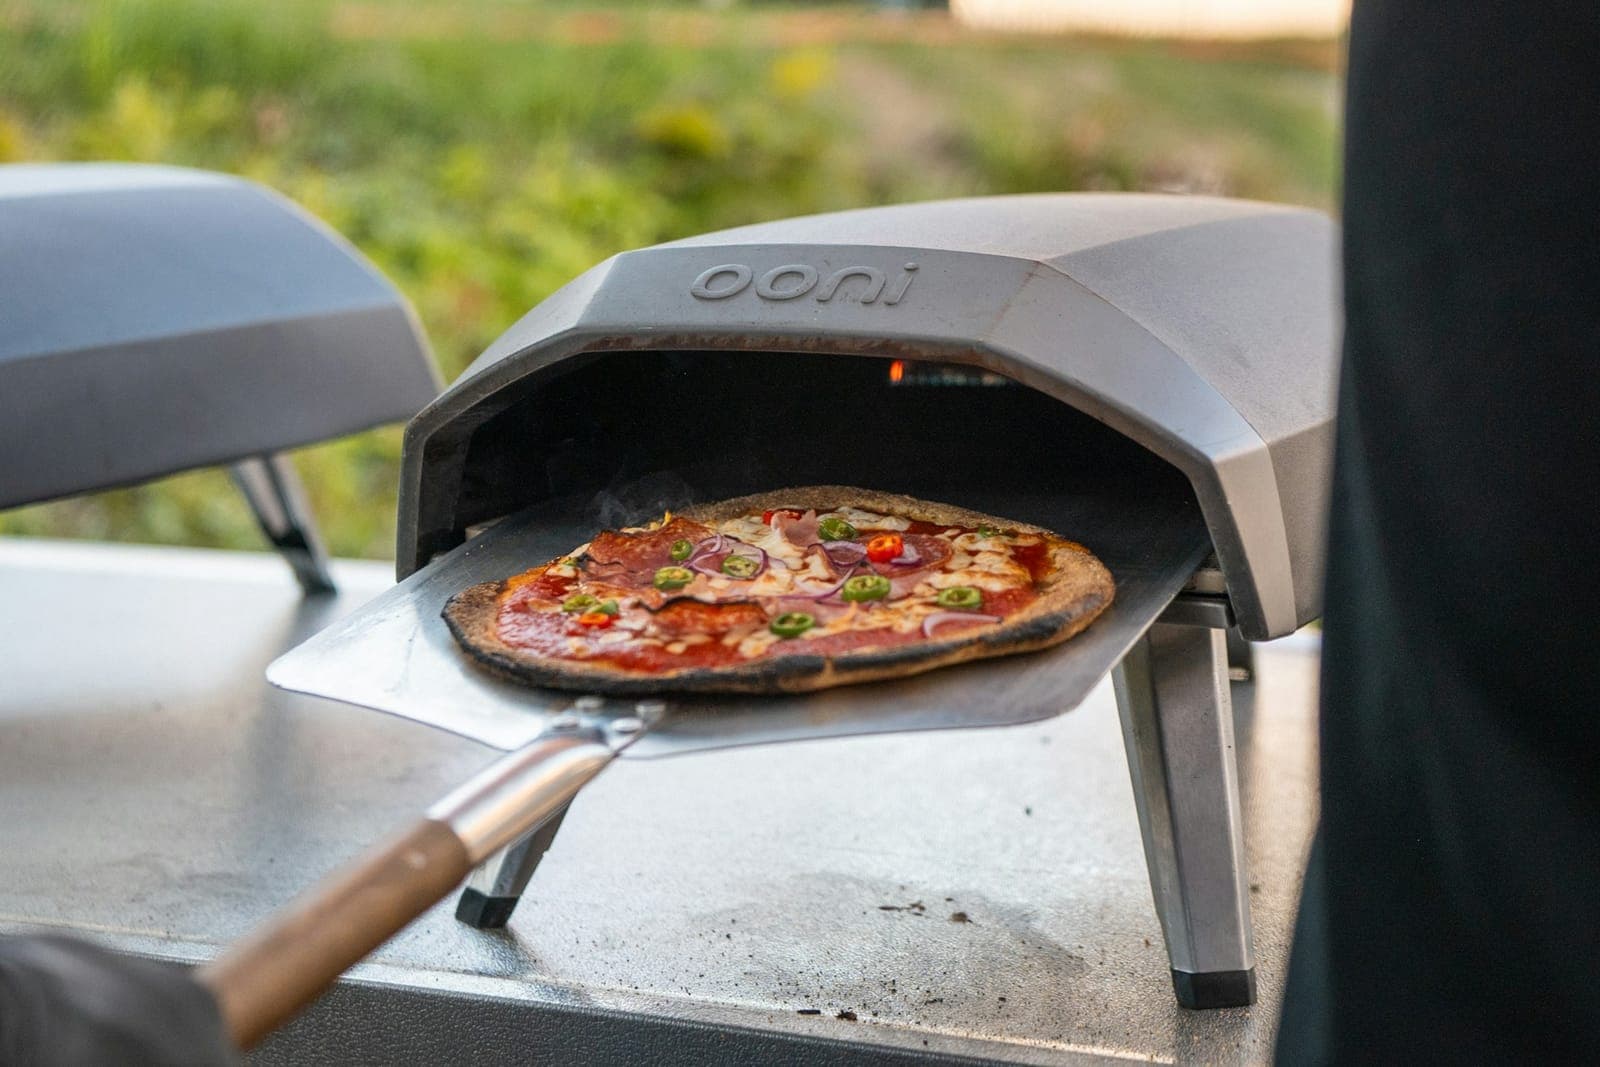
Over a ripping-hot fire (searing steaks, or roasting at 900°F in a pizza oven), a slow thermometer costs you. Five seconds with the lid open and your hand over the coals is a long time, and thin cuts can climb several degrees in that window. This is where a true 1-second instant-read like the Thermapen ONE earns its price.
Common Mistakes
- Probing straight down into a thin cut. The sensor ends up near the hot grate, not in the middle of the meat. Go in through the side.
- Trusting one reading on a big piece. One probe spot on a whole bird tells you about one spot on a whole bird.
- Chasing 165°F in the breast over the fire. Carryover takes it past 170°F. Pull at 160°F and let the rest finish it.
- Leaving an instant-read in the cooker. That's a leave-in probe's job. The instant-read melts.
- Never calibrating. A thermometer that reads 5°F hot means dry chicken forever, and you'll never know why.
- Cutting into the meat to check. The color of the juices is folklore, not food safety, and every cut lets moisture out. The probe hole is smaller and the number is real.
Frequently Asked Questions
Where do you put the thermometer in a chicken?
For a whole chicken, probe the deepest part of the thigh without touching bone, then verify the thickest part of the breast; every spot needs to hit 165°F. For boneless breasts, insert the probe horizontally through the side into the center of the thickest end.
Can you leave an instant-read thermometer in the meat while it cooks?
No. Instant-reads aren't built to live inside a hot grill or oven; the body and electronics will be ruined. Use a wired leave-in or a wireless probe like the MEATER Pro for continuous monitoring, and save the instant-read for spot checks.
How do I know if my meat thermometer is accurate?
Run the ice bath test above: a glass packed with ice, topped with cold water, stirred, should read 32°F (0°C) at the center. More than about 2°F off means recalibrate or account for the offset.
Why is my brisket tough even at 200°F?
Because temperature is only a rough guide for brisket; collagen breaks down on its own schedule. Around 203°F is typical, but the real test is feel: the probe should slide into the flat with almost no resistance. If it still resists, keep cooking regardless of the number. Our beginner brisket guide walks through probe-tenderness in detail.
What temperature should I pull a steak off the grill?
For medium-rare (130–135°F final), pull at about 125–128°F and rest 5–10 minutes; carryover finishes the job. Remember that steak temps below 145°F are preference targets, not USDA guidance.
Do you really need to check multiple spots?
On anything bigger than a chop, yes. Thickness varies, bones shield some areas, and cooker hot spots do the rest. Probe two or three places and trust the lowest number; the coldest spot decides both safety and doneness. This matters double on cookers with strong convection currents like a kamado grill.
The Bottom Line
Thickest part, avoid the bone, find the coldest number, pull early, rest. That's the whole skill, and it transfers to every cooker you'll ever own: grill, smoker, griddle, fire pit, kitchen oven. Fifteen minutes of practice on your next cook and you'll never serve dry chicken or gamble on a burger again.
If you don't own a thermometer yet, start with an instant-read in the $17–55 range and add a wireless probe when the long smokes call. We've ranked the ones actually worth buying, with the owner-review gripes included, in our guide to the best meat thermometers.