Charcoal Is Easier Than You've Heard
Charcoal grilling has a reputation problem. People picture squirting lighter fluid on a pyramid of briquettes, waving a newspaper at it for 45 minutes, and eating hockey-puck burgers that taste faintly of petroleum. That version is real, and it's entirely optional.
Grill with the method below and charcoal becomes genuinely simple: coals are ready in 15 minutes, the fire has a hot side and a safe side, and two vents give you a temperature dial. The payoff is flavor and searing heat that gas has a hard time matching, from a grill that costs a fraction of a comparable gas rig. If you haven't bought one yet, our best charcoal grills guide breaks down the options. For learning, a 22-inch kettle is the default answer for good reason: it's big enough for a two-zone fire and cheap enough to leave money for the accessories that actually matter.
Briquettes vs. Lump Charcoal: An Honest Answer
The internet loves this argument. Here's the short version: for your first season, buy briquettes.
Briquettes are compressed charcoal pressed into uniform pillows. Because every piece is identical, they light evenly and burn at a steady, predictable rate; a full chimney gives you about an hour of solid cooking heat. That predictability is exactly what you want while you're learning vent control. The downsides: they produce more ash, and they're slightly slower to light.
Lump charcoal is charred real wood: irregular chunks that light faster, burn hotter, and leave less ash. Purists prefer the flavor, though in blind-tasting write-ups the difference is smaller than the marketing suggests. The catch is inconsistency: one bag has fist-sized chunks, the next is half dust, and the burn rate changes with the piece size. That variability makes temperature control harder for a beginner.
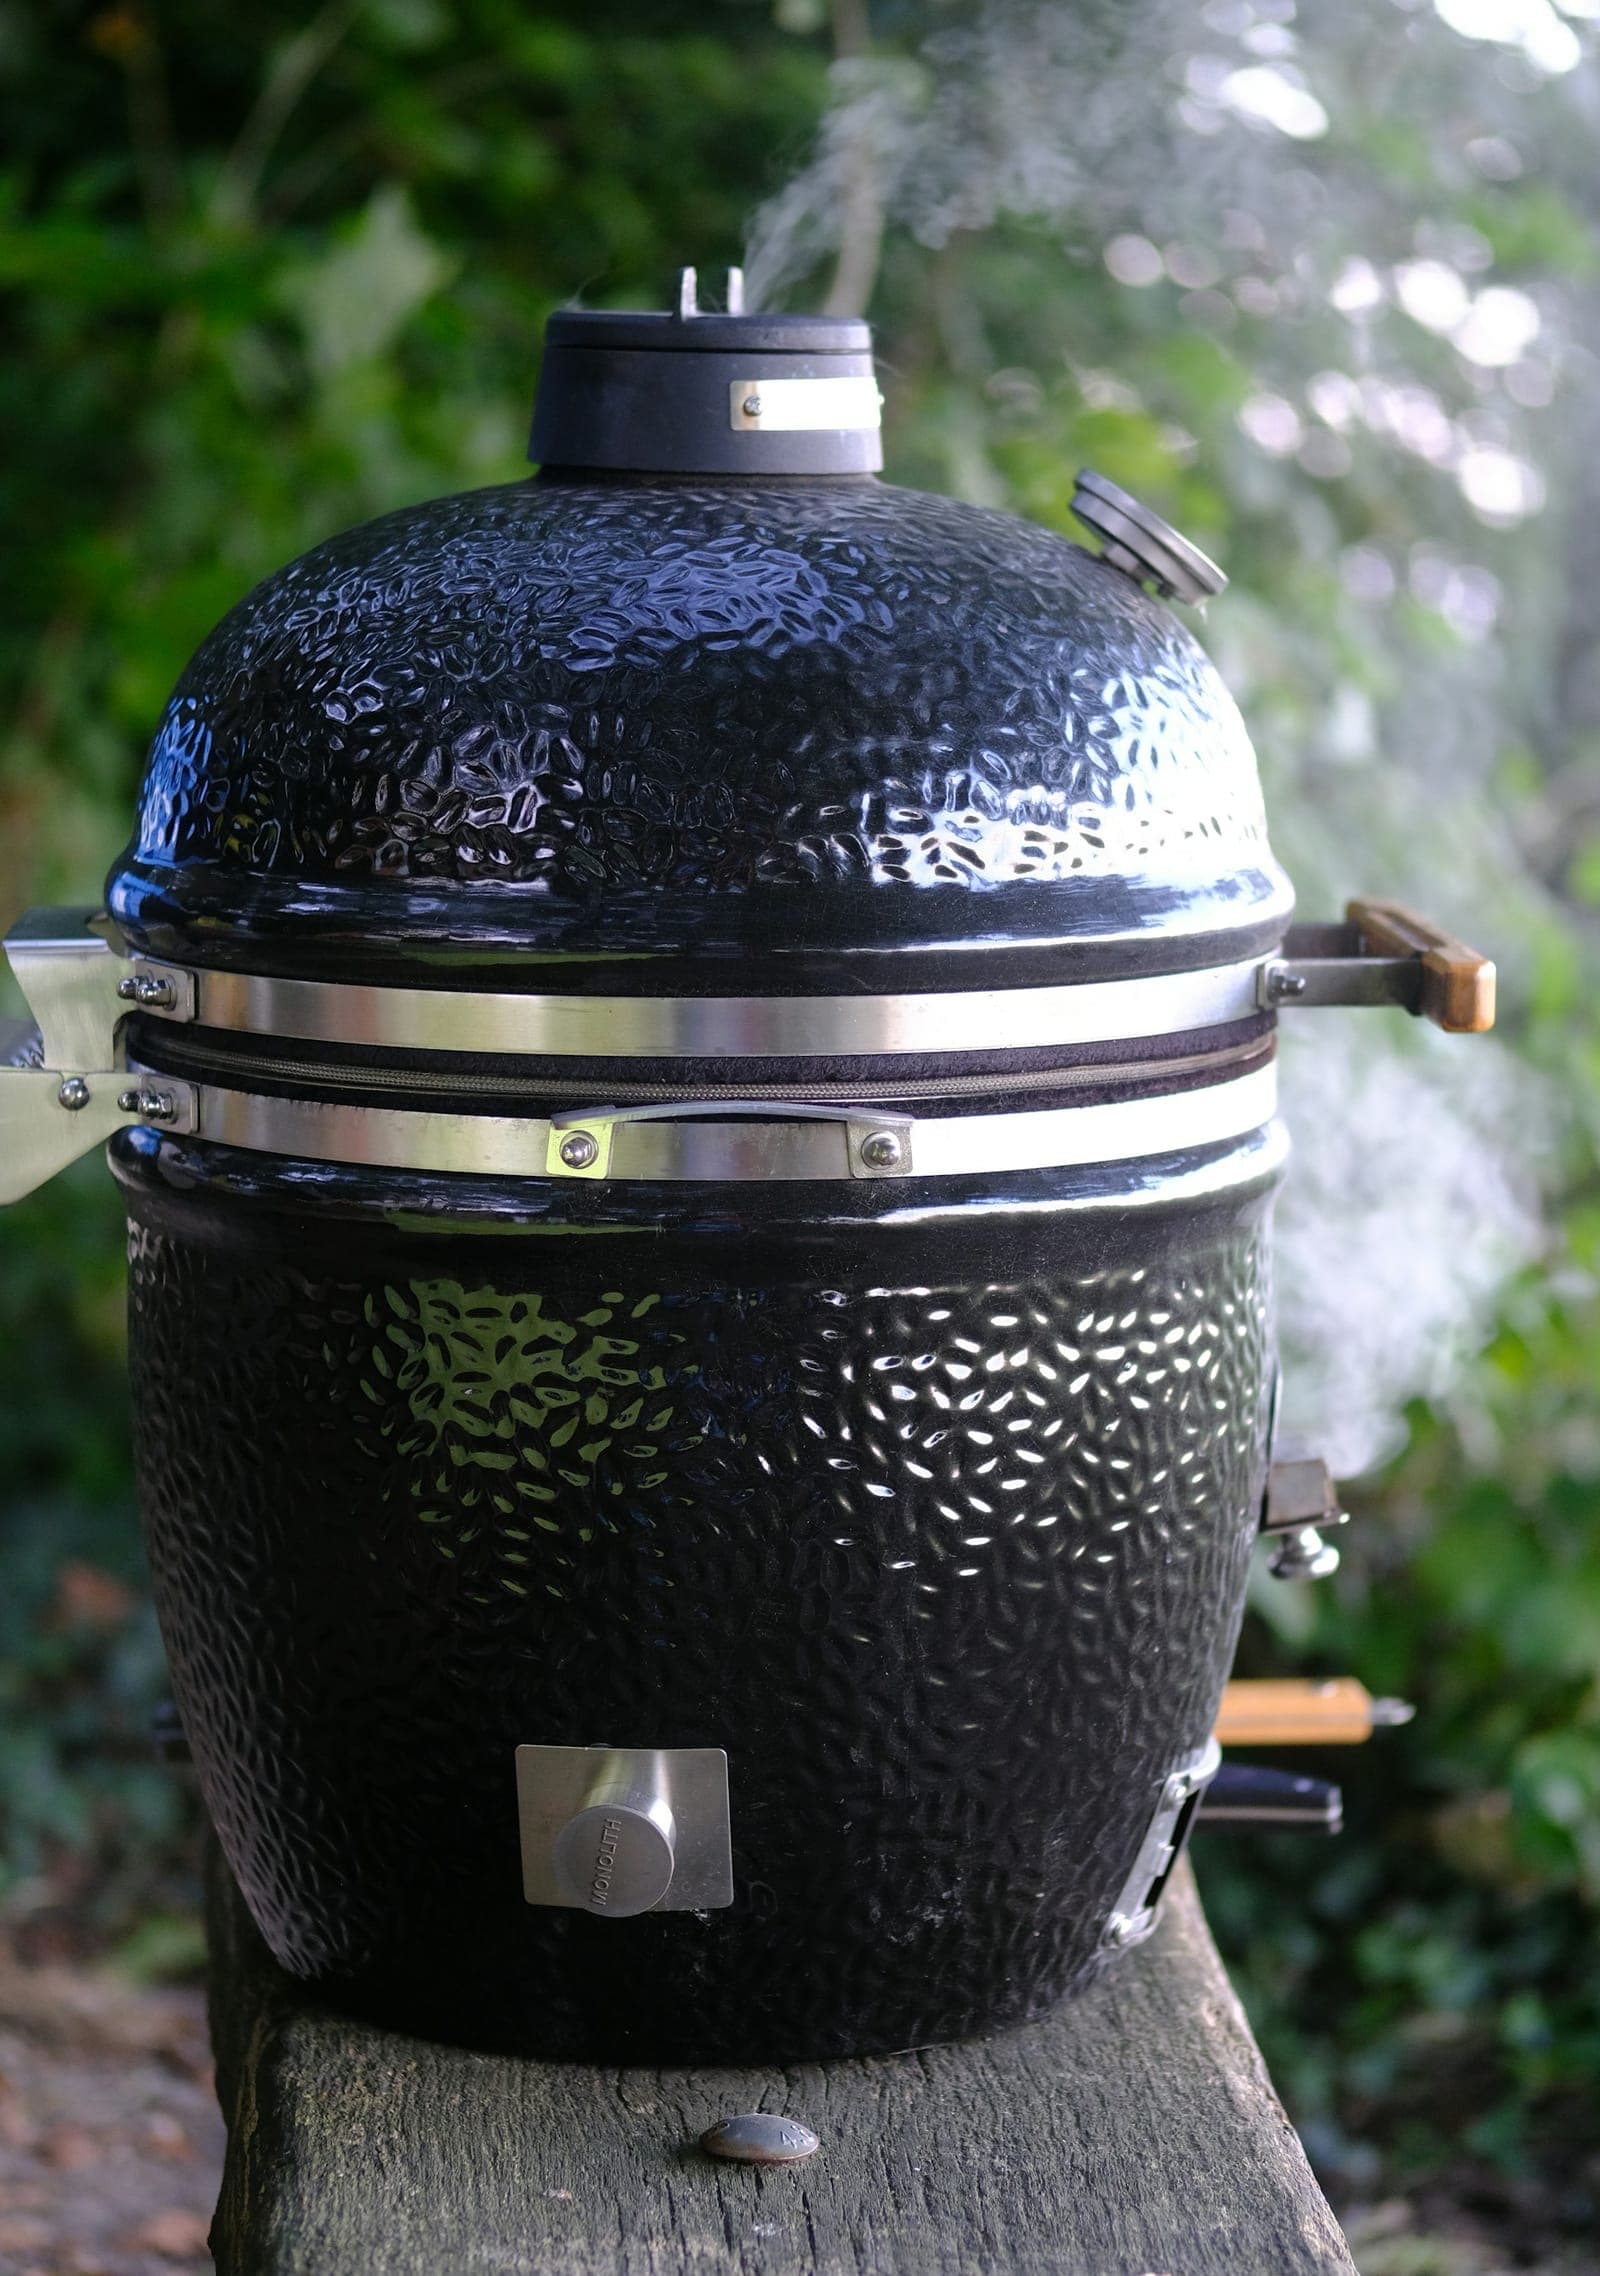
Neither is wrong. Briquettes are the learner's tool; lump is a nice upgrade once vent control feels automatic, especially for high-heat searing, and it's the standard fuel if you ever move to a kamado grill. One firm rule either way: skip anything labeled "match-light." It's charcoal pre-soaked in lighter fluid, and that flavor does end up in your food.
The Chimney Starter: Why You Don't Need Lighter Fluid
A chimney starter is a metal cylinder with a grate near the bottom and vent holes around the base. You fill it with charcoal, light a fire starter cube or some crumpled newspaper underneath, and physics does the rest: heat rises through the column and lights the coals from the bottom up. Twelve to fifteen minutes later, every coal is evenly lit.
It's faster than lighter fluid, it costs nothing per use, and nothing you eat will taste like a gas station. This is the single best $27 a charcoal griller can spend, and it should arrive in the same box as the grill.
The Two-Zone Fire: The Only Setup You Need
Here's the biggest beginner mistake in charcoal grilling: spreading the coals evenly across the whole grate. That gives you one temperature everywhere (usually "too hot") and nowhere to put food when it starts to burn.
Instead, pour all your coals onto one half of the grill and leave the other half empty. Now you have two zones:
- The direct zone (over the coals): 450–550°F+ of radiant heat for searing, browning, and crisping.
- The indirect zone (the empty side): a gentle 250–350°F convection oven for cooking food through without burning it.
Almost everything you'll ever grill uses both: sear over direct, finish over indirect. Flare-up from dripping fat? Slide the food to the cool side for a minute. Thick chicken pieces raw in the middle? Cool side, lid on, done in ten. The empty half of the grill is your undo button.
Your First Cook, Step by Step
Fill the chimney. Set the chimney on the grill's lower charcoal grate (a safe, fireproof surface) and fill it with briquettes. A full chimney (about 5 quarts) is right for burgers, steaks, and hot-and-fast cooking. Half a chimney is plenty for chicken pieces or anything gentler.
Light it. Tuck a fire starter cube (or two loosely crumpled sheets of newspaper) under the chimney and light it. Then walk away. No squirting, no fanning, no babysitting. Cubes are worth the few cents each; newspaper works but drops burning ash.
Wait for gray ash. In 12–15 minutes the top coals will be lightly coated in gray ash with flames flickering out of the chimney's top. That's the signal. Pouring too early, while the top coals are still black, means uneven heat and acrid smoke.
Pour a two-zone fire. Put on heat-resistant gloves (the chimney is glowing metal at this point) and pour the coals onto one half of the charcoal grate. Bank them about two coals deep. Leave the other half completely empty.
Preheat, then clean the grate. Set the cooking grate in place, close the lid, and open the top and bottom vents all the way. Give it 5–10 minutes; a hot grate sears better and releases food more easily. Then scrape it clean. Food sticks to yesterday's burnt-on grease far more than to clean metal.
Sear over direct, finish over indirect. Lightly oil the food (not the grate; oil on the grate just burns) and lay it over the coals. Get color on both sides, then slide anything thicker than an inch to the empty side and close the lid to finish cooking it through. Thin, fast food (smash burgers, shrimp, skirt steak) can stay over direct heat the whole time with the lid off.
Check temperature, rest, and shut down. Pull food at safe internal temps: 165°F for poultry, 160°F for ground meat, 145°F plus a 3-minute rest for whole cuts of beef and pork, 145°F for fish. Rest larger cuts 5–10 minutes. When you're done cooking, close both vents fully; the coals suffocate and whatever fuel is left is reusable next time.
🌡️ The lid thermometer is lying to you
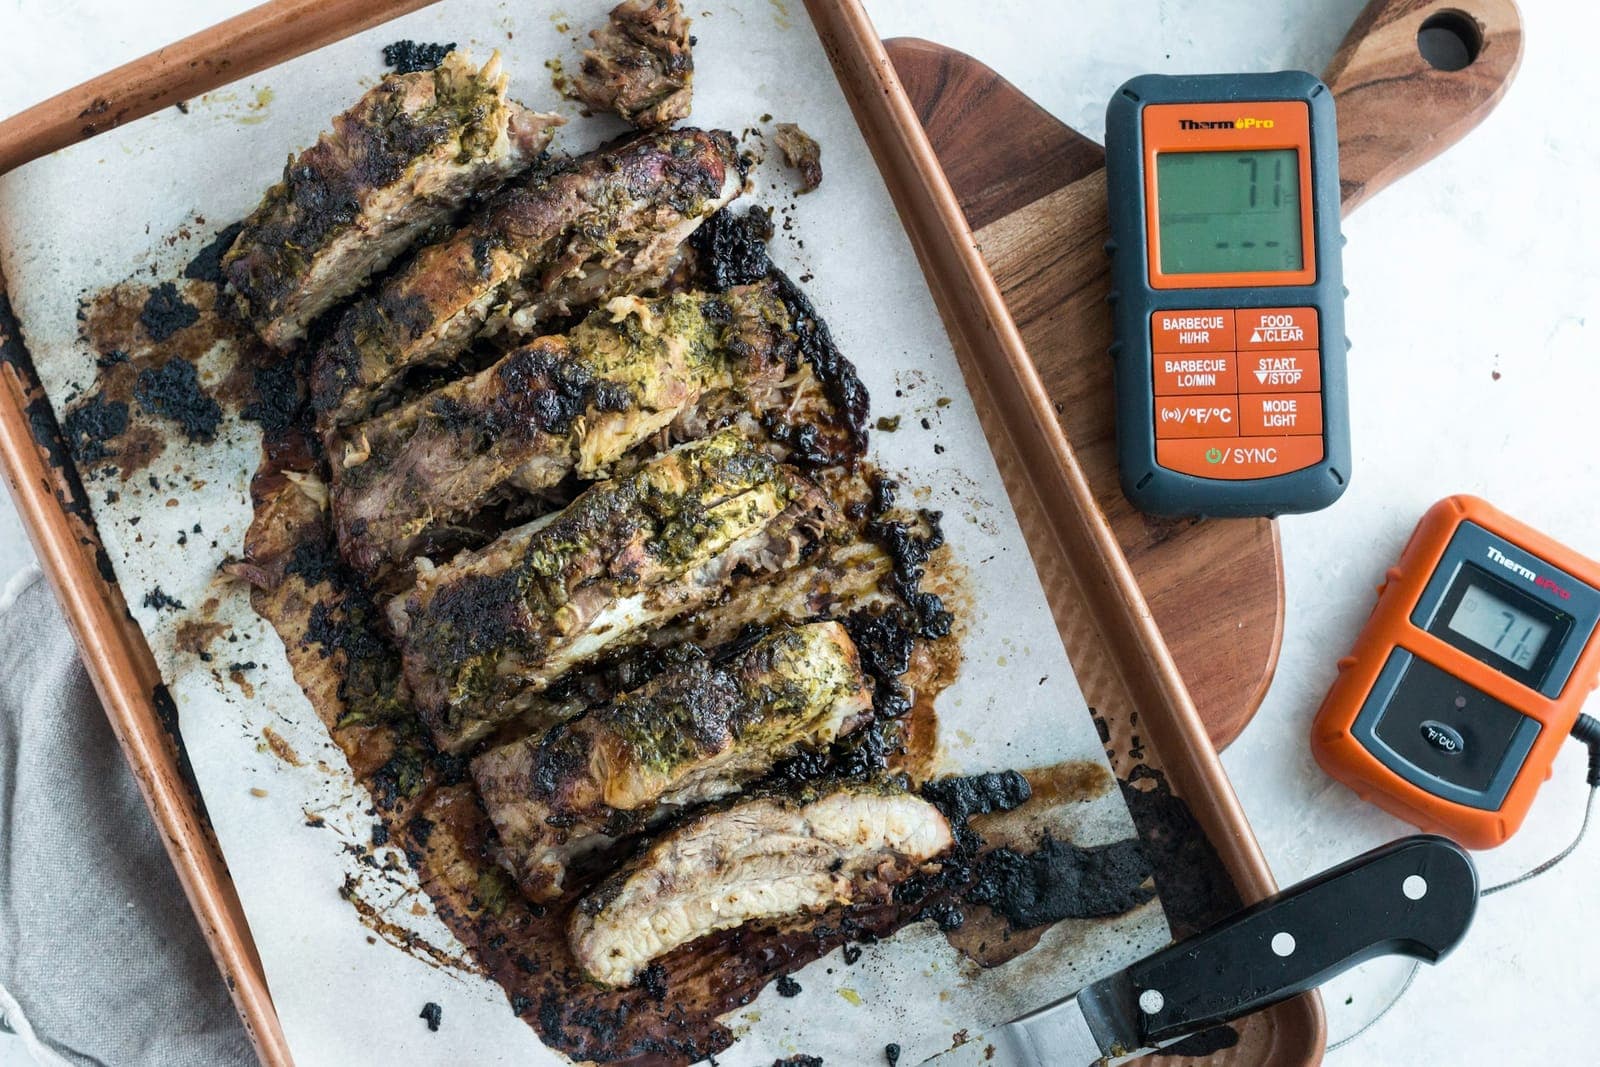
Kettle dome thermometers routinely read 25–75°F off the actual temperature at grate level, because they measure the air up in the lid. Owner reviews of even the best-selling kettles call this out constantly. Trust an instant-read thermometer in the food instead; see our picks in the best meat thermometers guide, and our thermometer how-to for where to probe.
Vent Control: Your Temperature Dial
A charcoal fire is controlled by oxygen, and the vents are how you ration it. Two rules cover 90% of it:
- The bottom vent is the throttle. It feeds air directly to the coals. Wide open = maximum heat. Half open = medium, roughly 350–400°F. A quarter open = low, in the 250–300°F range.
- The top vent is the fine trim. It controls how fast exhaust (and smoke) leaves. Keep it at least half open in most cooks and make small adjustments there once the bottom vent has you close.
The skill that takes practice is patience: after any vent change, wait 5–10 minutes before judging the result. Charcoal responds slowly, and chasing the temperature with constant adjustments overshoots in both directions. One small change, then wait.
And one rule with no exceptions: never close both vents fully while food is cooking. Zero airflow doesn't mean low heat; it means the fire goes out, and a smoldering, oxygen-starved fire produces sooty smoke that tastes bitter. Fully closed vents are for shutting the grill down after the cook, nothing else.
🔥 Flare-ups aren't emergencies
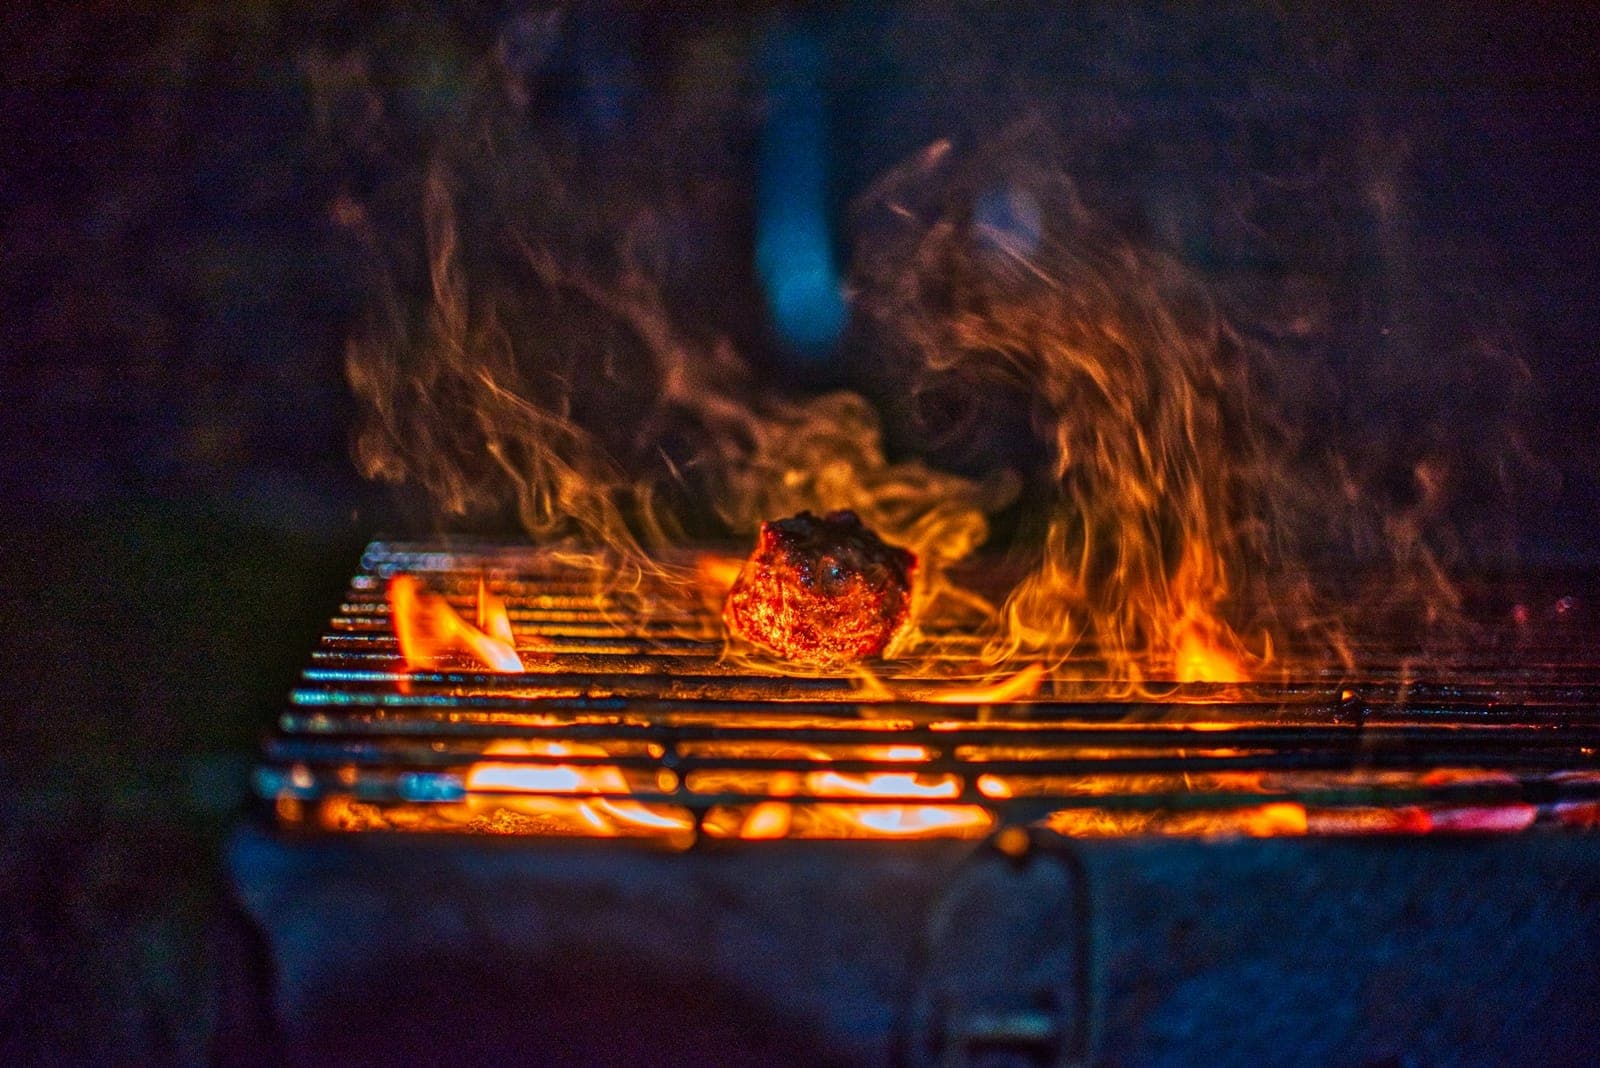
Dripping fat catching fire is normal, and the fix is never a water bottle: steam and grease spray make it worse. Just move the food to the indirect zone and close the lid; starved of easy fuel and air, the flare dies in seconds. This is the two-zone fire quietly saving your dinner again.
When Food Sticks: Wait for the Release
The first time a chicken thigh welds itself to the grate, every beginner assumes something is wrong. Nothing is wrong. Protein bonds to hot metal on contact, and then, as the surface browns, it lets go on its own. That release typically takes 3–4 minutes over direct heat.
So when food resists the tongs, don't fight it. Wait 60 more seconds and try again; it will lift cleanly when the crust is set. Prying early is how skin stays on the grate and burgers fall apart. Your other allies: a clean, fully preheated grate, oil on the food rather than the grate, and patting meat dry before it goes on (a wet surface steams instead of searing).
Cleanup and Ash Disposal
After cooking, close both vents and let the grill smother itself. Here's the part people get wrong: coals can stay dangerously hot for up to 24 hours. Never dump ash the same evening, and never into a plastic bin or paper bag; genuinely, house fires start this way every summer.
Next day, once everything is stone cold, sweep the ash out (kettles with a one-touch lever system make this a 30-second job) into a metal container. Leftover intact coals are perfectly reusable; just top up the chimney with fresh ones next cook. Two other habits that stretch a grill's life by years: empty the ash promptly, since damp ash eats through steel, and keep the grill covered between cooks.
Where to Go From Here
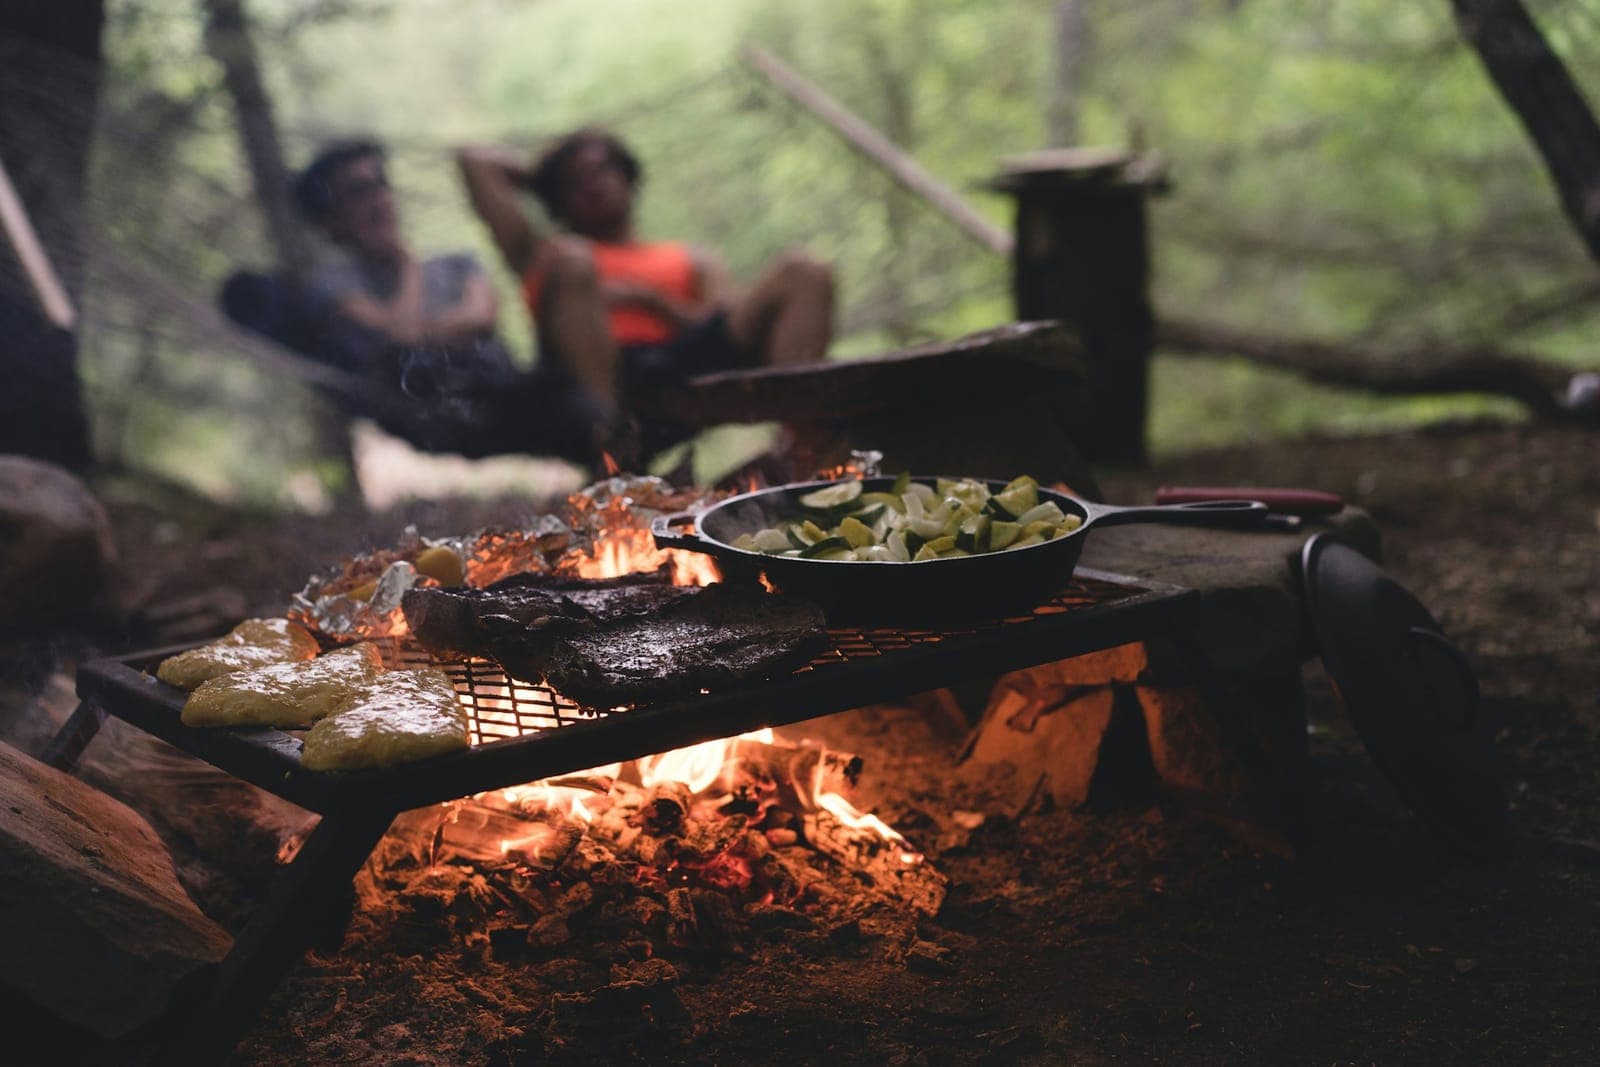
Once two-zone cooking and vent control feel natural, you've quietly learned the foundation of every other live-fire method. A kettle banked for indirect heat at 250°F is already a smoker; ribs and pork shoulder are within reach, and our brisket smoking guide shows where that road leads. The same coal-bed and heat-zone thinking applies to cooking over a fire pit, just without the vents. Charcoal's learning curve is real, but it's short; most people are past it by their third cook.
Charcoal Grilling FAQ
How much charcoal do I need for a 22-inch kettle grill?
A full chimney (about 5 quarts, or roughly 80–100 briquettes) is right for hot, fast grilling like burgers and steaks. Use half a chimney for medium-heat food like chicken pieces, and about half a chimney banked to one side for low-and-slow cooking in the 225–275°F range.
Are briquettes or lump charcoal better for beginners?
Briquettes. They're uniform, cheap, and burn at a steady, predictable rate for about an hour, which makes learning temperature control much easier. Lump charcoal lights faster and burns hotter but varies in size and burns less evenly. Start with briquettes, try lump later for searing.
How do I light charcoal without lighter fluid?
Use a chimney starter: fill it with charcoal, set it over a lit fire starter cube or crumpled newspaper, and wait 12–15 minutes until the top coals are ashed over gray. It's faster than fluid, costs nothing per use after the initial purchase, and leaves no chemical taste on your food.
How do I control the temperature on a charcoal grill?
With the vents. The bottom vent feeds oxygen to the coals and is your main temperature control: more open means hotter. The lid vent is for fine adjustments and letting smoke flow. Make one small change at a time and wait 5–10 minutes; never close both vents fully while cooking, or the fire will die.
Do I grill with the lid on or off?
Mostly on. Lid off works for thin, fast food directly over the coals: smash burgers, skirt steak, shrimp. Anything thicker than about an inch cooks better with the lid on, which turns the kettle into an oven and cooks food from all sides instead of just below.
Why does my food stick to the grill grate?
Usually because it isn't ready to flip. Protein bonds to hot metal at first, then releases naturally once a browned crust forms, typically 3–4 minutes. If it resists, wait another minute instead of tearing it. A clean, fully preheated grate and a light coat of oil on the food (not the grate) prevent most sticking.