What Your First Cook Actually Looks Like
Here's the honest version: your first pizza will probably be a little lopsided, one edge will be darker than the other, and it will still be better than most delivery. The second one will be noticeably better. By the fourth, you'll wonder why you waited so long to light the thing.
A backyard pizza oven only really asks three things of you: a proper preheat, a confident launch, and a turn every 20–30 seconds. Everything else is detail. This guide walks through all of it in order, then covers the three classic failures (the stuck pie, the burnt bottom, the raw center) so you can recognize them before they happen.
We're assuming you already have an oven. If you're still shopping, our roundup of the best outdoor pizza ovens compares the current gas and multi-fuel picks by preheat time, stone size, and how forgiving they are for beginners, which matters more than max temperature on day one.
The Preheat Is Half the Cook
The single biggest first-cook mistake is launching too early. A pizza oven doesn't cook with hot air the way your kitchen oven does; it cooks from below, through a stone that has to be genuinely saturated with heat. The air inside can hit 700°F in ten minutes; the stone lags well behind it.
So: light the oven on full flame and walk away for 15–30 minutes. Small ovens with thin stones (the Solo Stove Pi Prime, the Gozney Arc Lite) get there in about 15–20 minutes. Big, thick stones, like the 18-inch Ooni Koda 2 Pro, want closer to 30. Wood-fired ovens take longer still, and owner reviews consistently mention a 2–3 cook learning curve just for fire management.
The target for Neapolitan-style pizza is a floor temperature of 750–900°F, measured at the center of the stone. That number is not guesswork: it's the difference between a 60–90 second bake with a puffed, leopard-spotted crust and a three-minute bake that dries out before it browns.
🌡️ Don't trust your eyes: point a gun at it
Unless your oven has a built-in stone thermometer (the Gozney Arc does; most don't), an infrared thermometer is effectively part of the oven. One warning from the review trenches: many cheap IR guns top out around 716°F, below pizza-stone territory. The Etekcity Lasergrip 1080 reads to 1130°F for around $25 and is the standing recommendation in pizza-oven communities. Aim at the center of the stone, not the walls.
Is Your Dough Ready?
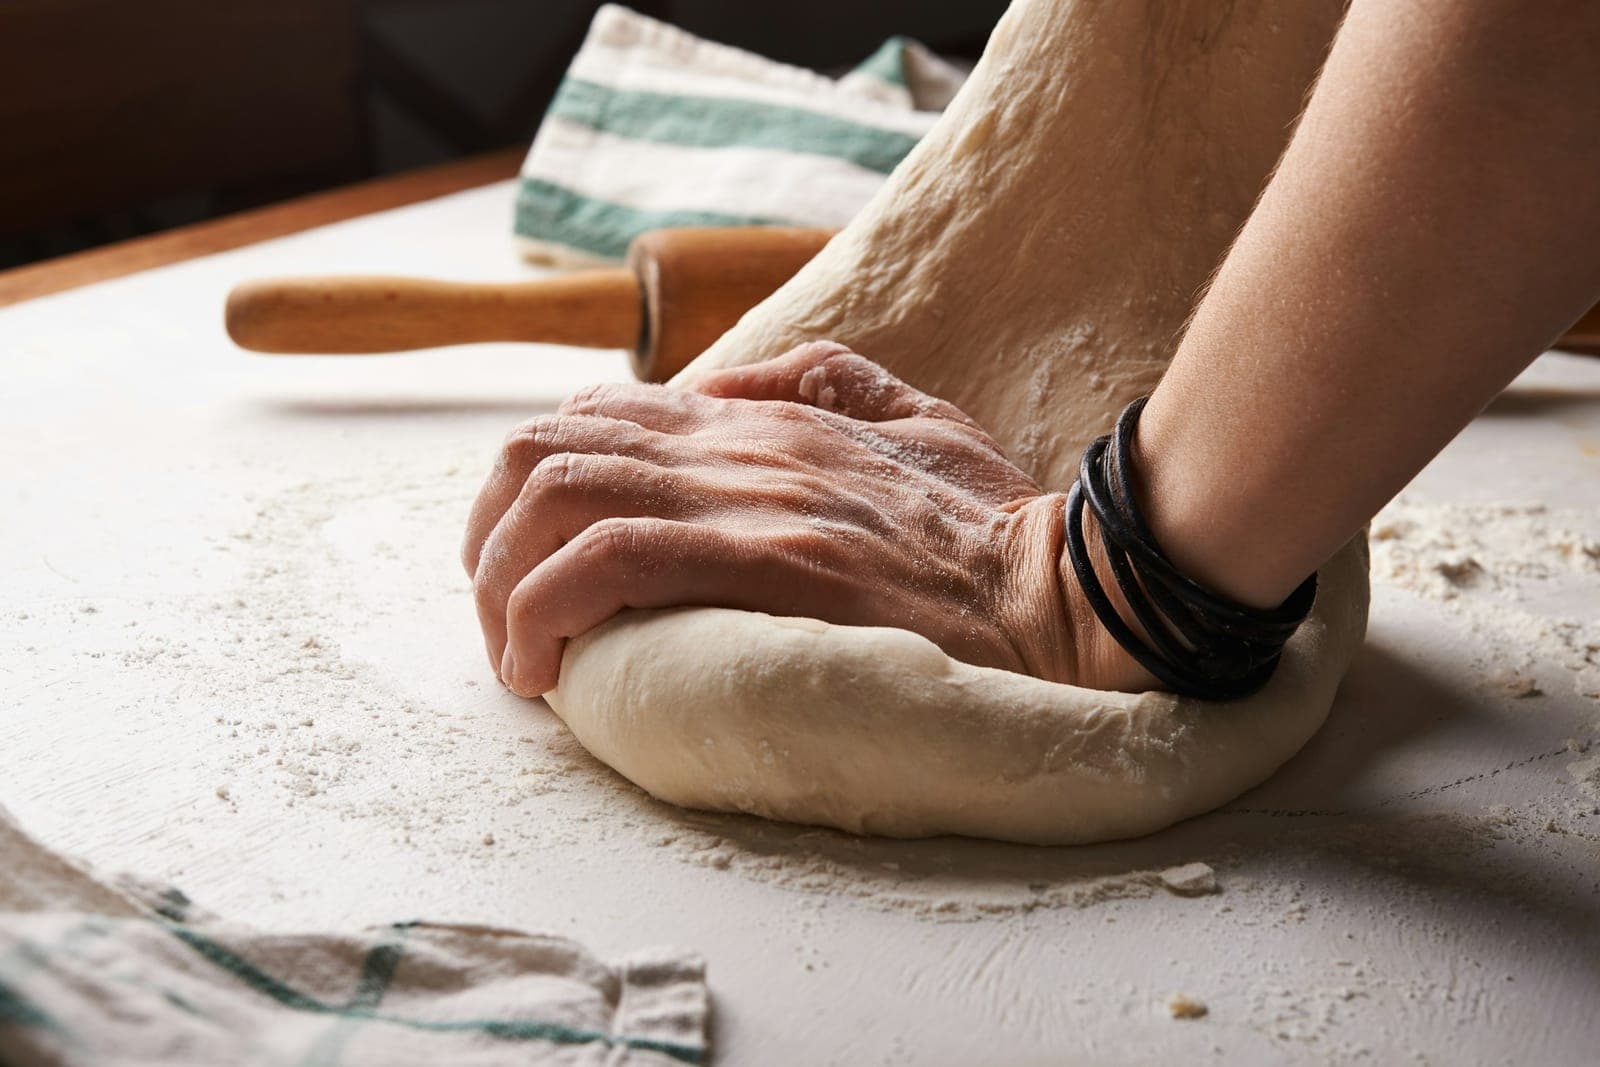
Cold dough is the silent killer of first cooks. Straight from the fridge, dough is tight, tears when you stretch it, and hits the 800°F stone with a temperature deficit that shows up as a pale, dense center. Pull your dough balls out 1–2 hours before you light the oven and let them come fully to room temperature, covered so they don't skin over.
Ready dough feels relaxed: press a floured finger into a ball and the dimple should spring back slowly, not instantly. It should stretch to 10–12 inches without fighting you or tearing thin in the middle. If it keeps snapping back like elastic, give it another 20–30 minutes.
Store-bought dough works fine for a first cook; just note that many supermarket doughs carry sugar and oil, which brown dramatically faster at these temperatures. If you want dough built for this kind of heat, our pizza dough for outdoor ovens recipe is four ingredients and an overnight rest, and it won't burn at 900°F.
🍕 Make pizza #1 a margherita
Sauce, a modest scatter of low-moisture mozzarella, basil after the bake. Every extra topping adds weight (harder launch) and moisture (soggy center). Load up pizza #3 instead, once you've seen how your oven behaves. Some owners even sacrifice a plain, topping-free round of dough as pizza #0 to learn the launch with zero stakes; we think that's a genuinely smart move.
The Process, Start to Finish
Preheat on full flame. Set the oven somewhere level and wind-sheltered (large-mouth gas ovens are notoriously wind-sensitive), light it, turn the dial to maximum, and give it 15–30 minutes. Leave it on full the entire preheat; you're charging the stone like a battery.
Verify the floor temperature. Point the IR thermometer at the center of the stone. You want 750–900°F. Under 700°F, wait longer. Over 950°F on a thin stone, nudge the flame down and give it two minutes; a floor that hot will char the base before the top cooks.
Set up your station. Everything within arm's reach of the oven: dough, sauce, cheese, toppings, peel, a pile of semolina, gloves. Pizza at 850°F is a fast game, and walking back to the kitchen mid-build is how pies end up welded to peels.
Build the pie ON the peel. This is the part nobody tells beginners. Dust the peel generously with semolina (it acts like ball bearings under the dough), then stretch your dough on the counter, lay it on the peel, and build it there. Work fast: sauce, cheese, toppings in 60–90 seconds. The longer a topped pizza sits on the peel, the more the dough sweats and glues itself down. Before you commit, give the peel a short sharp shake: the pizza should slide as one piece.
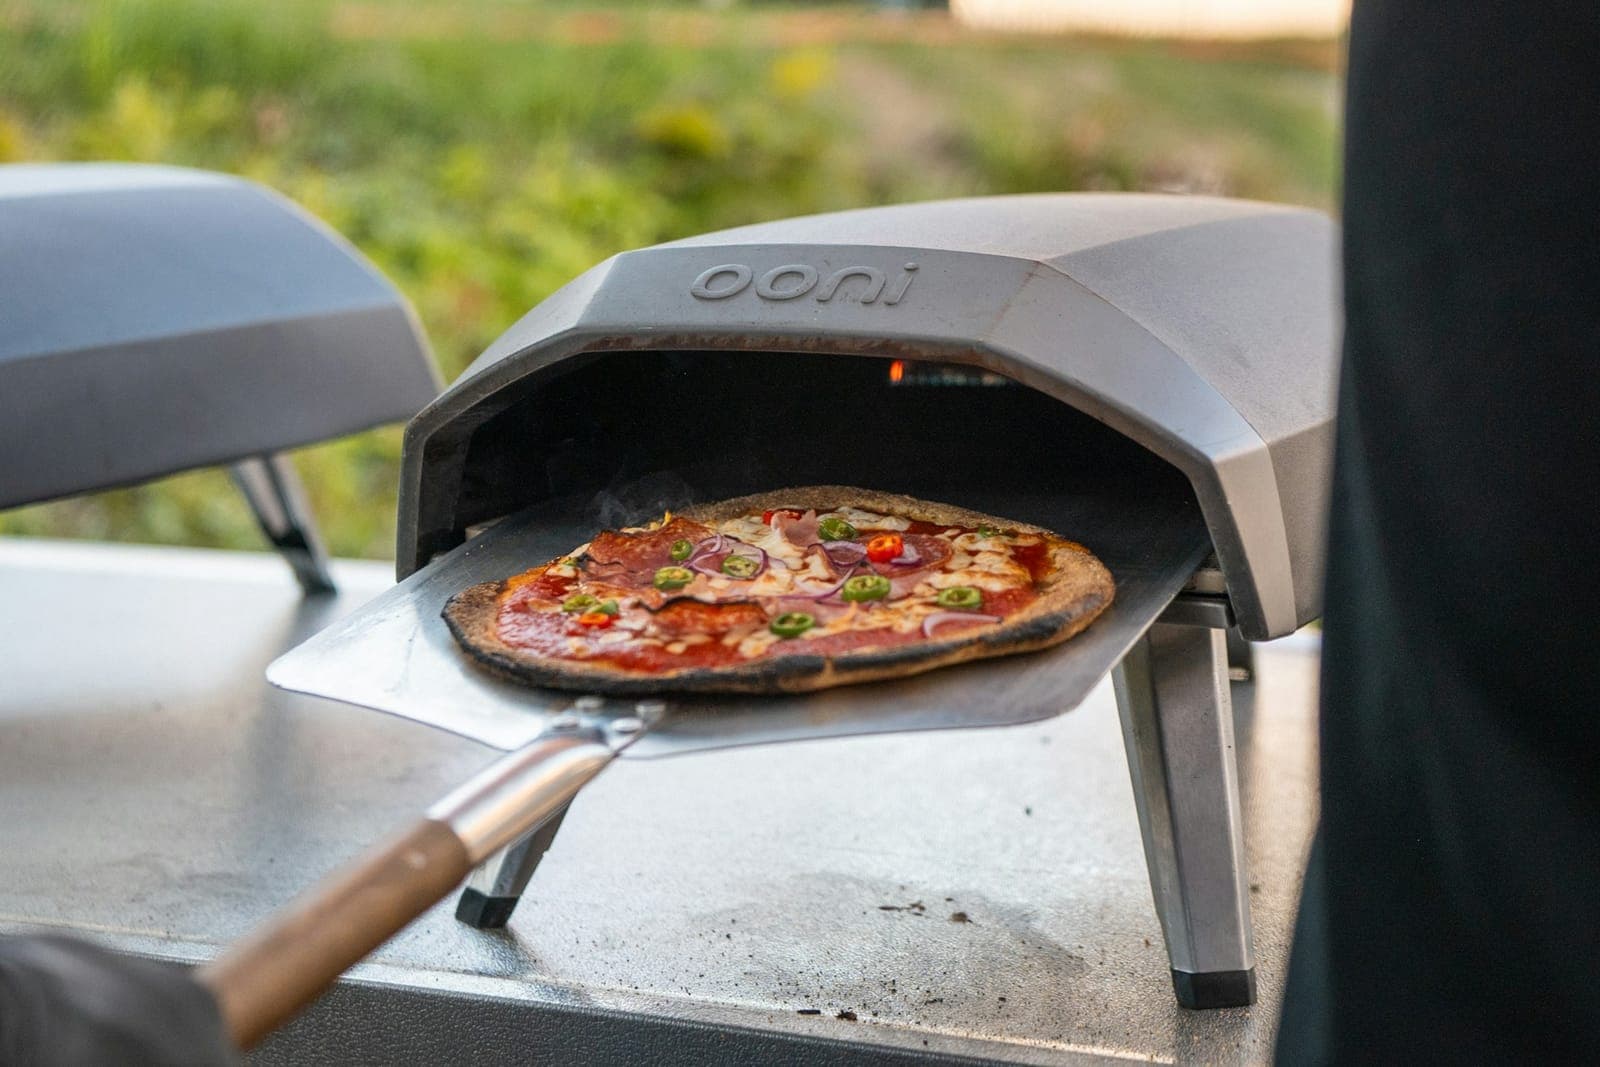
Launch. Slide the peel into the oven so the front edge of the pizza is over the back third of the stone, tilt the handle up slightly, and pull the peel back out from under the pie in one quick motion, like pulling a tablecloth. Confidence matters more than precision. A hesitant, stuttering launch folds the pizza; a brisk one lands it flat almost every time.
Turn every 20–30 seconds. The side facing the flame gets vastly more heat, and at this temperature "a bit longer" means "black." After the first 20–30 seconds, once the base has set, slide the peel (or a turning peel) under the pizza, rotate it a quarter to a third of a turn, and set it back down. Repeat two or three times. Watch the crust, not the clock: turn when the flame-side edge is spotted brown.
Pull at 60–90 seconds. Done looks like: a puffed rim with dark leopard spots, fully melted (not yet oily) cheese, and a base that's rigid when you lift it. At a true 750–900°F floor this takes 60–90 seconds total. Slide the peel under, pull it out, and rest the pizza on a rack or board for a minute so the base stays crisp.
Let the stone recover, then go again. Every pizza pulls heat out of the floor. Check the stone with the IR gun between pies; give it 2–5 minutes on full flame to climb back above 750°F. Thick stones bounce back quickly, thin budget stones need the full pause. Skipping this step is why pizza #2 so often comes out pale-bottomed.
The Three Classic First-Cook Failures
We dug through hundreds of owner reviews and forum first-cook threads while researching our oven roundup, and the same three disasters come up over and over. All three are preventable, and all three have a mid-cook fix.
1. The stuck pie
You go to launch, the dough stays put, and the toppings keep going. Cause: too little semolina, too-wet dough, or a pizza that sat on the peel too long. Fix in the moment: do not force the launch. Lift the stuck edge and tuck a pinch of semolina underneath, work around the pie, then re-test with a shake. Prevention: generous semolina, a drier dough, a build under 90 seconds, and always the shake-test before the oven. A perforated peel helps too: the holes shed the excess semolina that would otherwise burn bitter on the stone.
2. The burnt bottom
Top looks perfect, base is charcoal. Cause: the floor is too hot relative to the dome, usually a long preheat followed by turning the flame way down, or a stone reading 950°F+ at launch. Sugary store-bought doughs make it worse. Fix in the moment: for the next pie, let the stone cool to 750–800°F and keep the flame higher so top and bottom cook in step. Between pies you can also "dome" a pizza: lift it off the stone on the peel and hold it up near the flame for a few seconds to finish the top without further cooking the base. Prevention: measure the floor before every launch, not just the first one.
3. The raw center
Rim is browned, middle is wet dough under a puddle of toppings. Cause: an under-heated stone, cold dough, an overloaded pizza, or all three, which is the standard first-timer combination. Fix in the moment: turn the flame down a notch and let the pizza ride another 30–60 seconds, turning often so the rim doesn't blacken while the center catches up. Prevention: full preheat verified at 750°F+, room-temperature dough stretched thin in the middle, and restraint with sauce and cheese. Wet toppings (fresh mozzarella straight from the tub, raw mushrooms, pineapple) are the usual suspects; drain them first.
🔥 The 20-second rule of attention
From launch to pull, never look away for more than about 20 seconds. At 850°F, that's the entire gap between "beautifully spotted" and "briquette." Pour drinks before you launch, not after.
After the First Pie
A few things worth knowing once the adrenaline wears off. The stone cleans itself: scraps and semolina burn to ash at full temperature; brush it out with a dry brush once cool, and never wash a hot stone with water, which can crack it. Let the whole oven cool completely before putting the cover on.
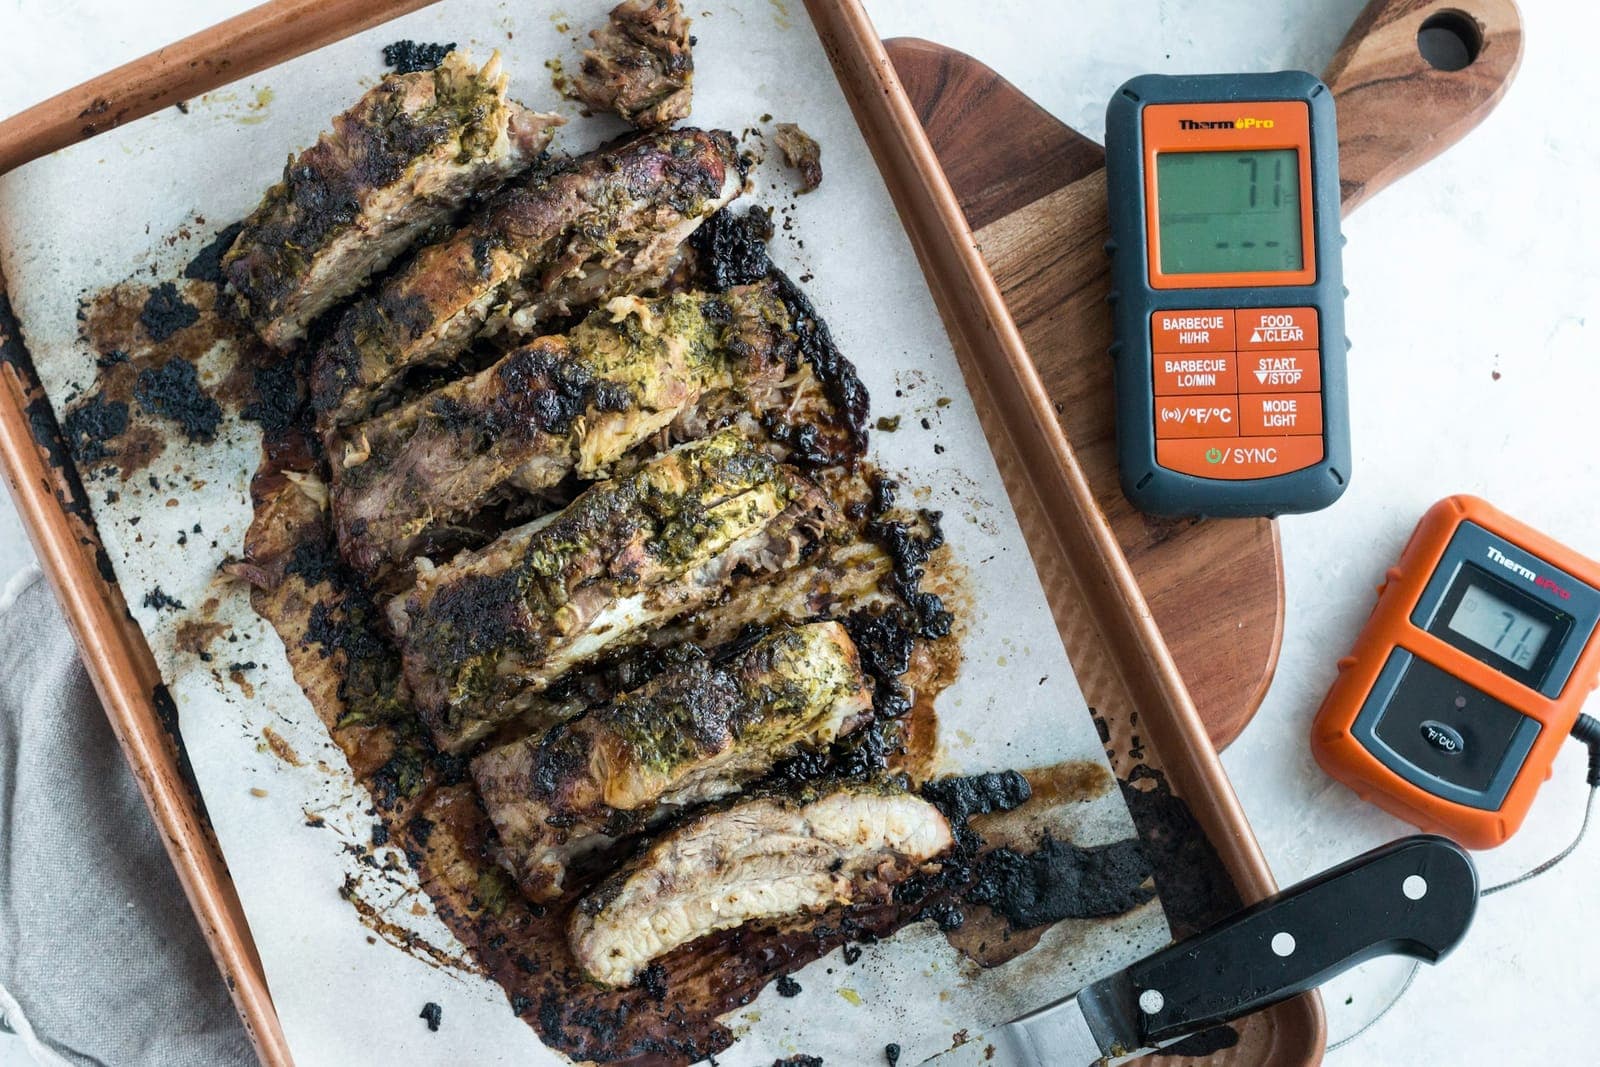
An IR gun, useful as it is, only reads surfaces; it can't tell you whether the chicken on your side burner is done. For anything with an internal temperature that matters, you want an instant-read probe; our guide on how to use a meat thermometer covers where to probe and what numbers to hit, and our best meat thermometers roundup compares the current instant-read and wireless picks.
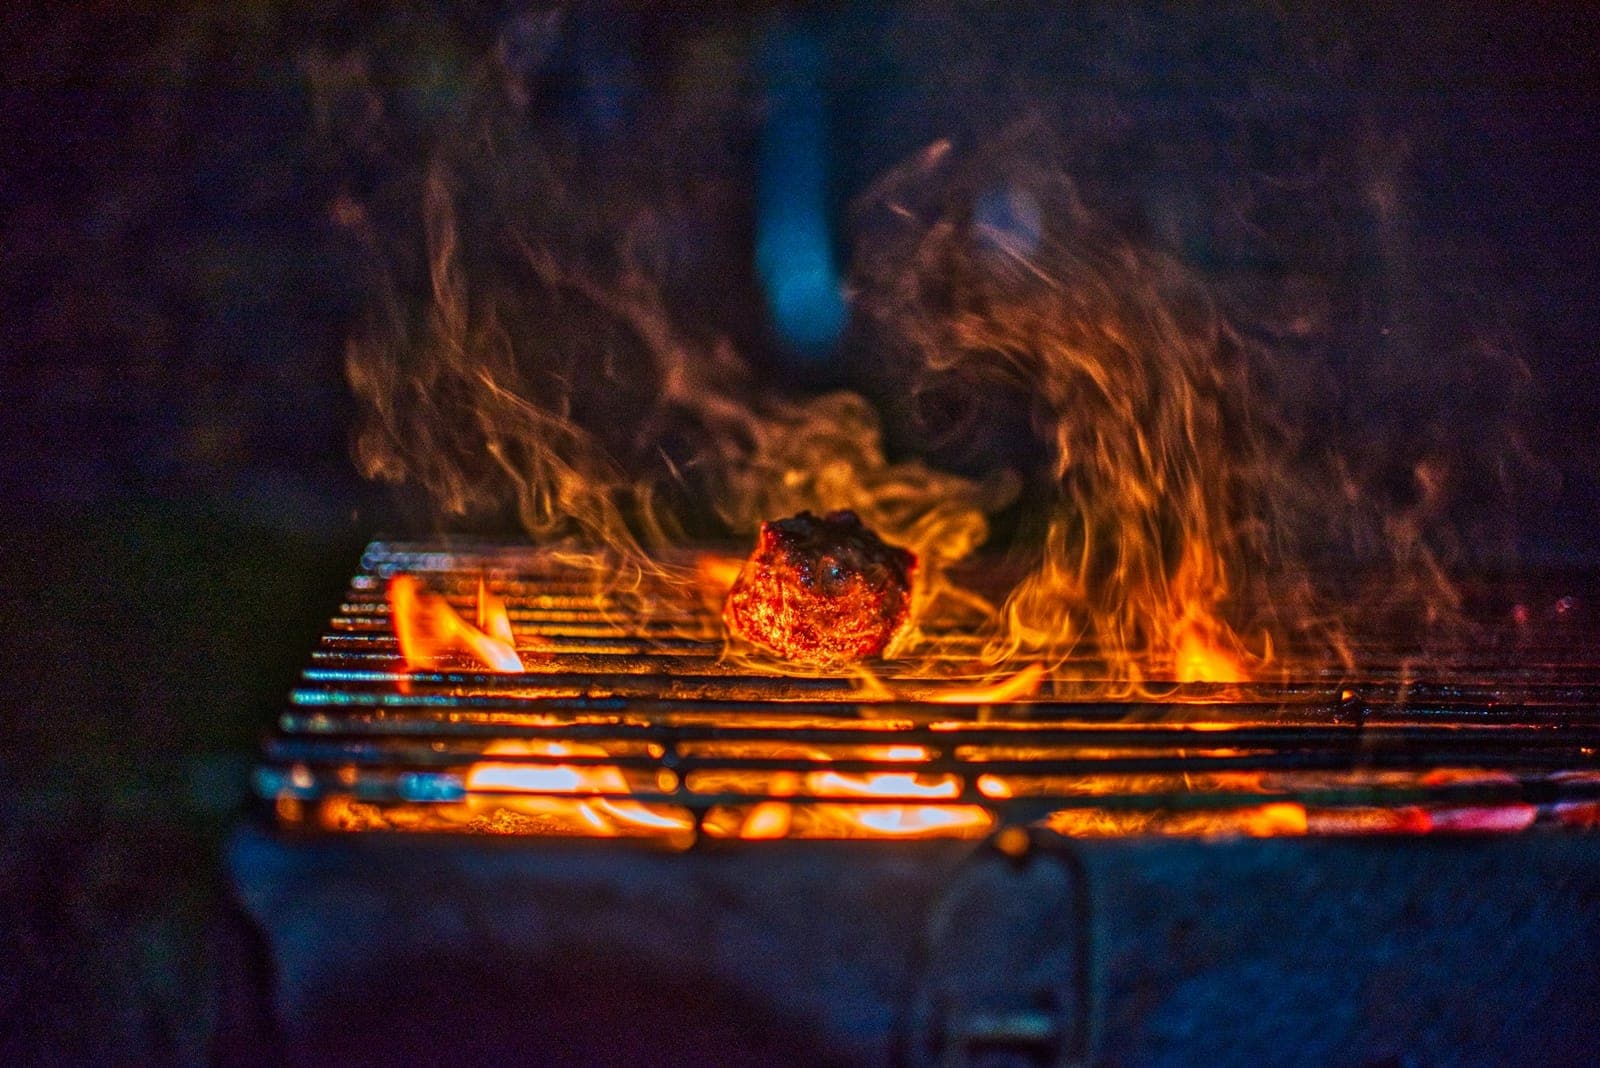
And if the live-fire bug bites (it will), the skills transfer. Managing flame, heat zones, and timing is exactly what makes good grilled food too, and our charcoal grilling for beginners guide is the natural next step. Multi-fuel oven owners in particular will find charcoal management familiar within a cook or two.
Your fourth pizza will be better than your first. Your fortieth will be better than most restaurants'. The oven isn't the hard part; it just wants heat, semolina, and your undivided attention for 90 seconds at a time.
Frequently Asked Questions
How long does a pizza oven take to heat up?
Most gas ovens need 15–30 minutes on full flame to saturate the stone: about 15 for small thin-stone ovens, closer to 30 for big 16–18" stones. Wood-fired ovens take longer. The clock is a guideline; the IR gun reading of 750°F+ on the floor is the actual green light.
What temperature should the stone be?
750–900°F at the center of the stone for Neapolitan-style, which gives a 60–90 second bake. If you prefer a New-York-leaning pie (thinner crisp base, longer bake), run the floor at 600–700°F and expect 2–4 minutes with more frequent turning at the end.
Why does my pizza stick to the peel?
Not enough semolina, wet dough, or too long spent building on the peel. Dust generously, build fast, and shake-test before every launch. A stuck pie can usually be rescued by tucking semolina under the stuck edge; a forced launch cannot.
Why is the bottom burnt but the top raw?
Floor too hot, dome too cool. Keep the flame higher during the bake so the top keeps pace, launch when the stone is 750–800°F rather than 950°F, and go easy on sugary doughs. Doming the pizza near the flame for a few seconds finishes a lagging top.
Can I use store-bought dough?
Absolutely. Bring it to room temperature for 1–2 hours first, and expect faster browning if it contains sugar or oil. When you're ready to level up, a purpose-made high-heat dough is a 10-minute mix the night before.
How many pizzas can I make in one session?
As many as your dough and propane hold out for. Just verify the stone is back above 750°F between launches; 2–5 minutes of full-flame recovery per pie is typical, less on thick premium stones.